Editors
Media storage
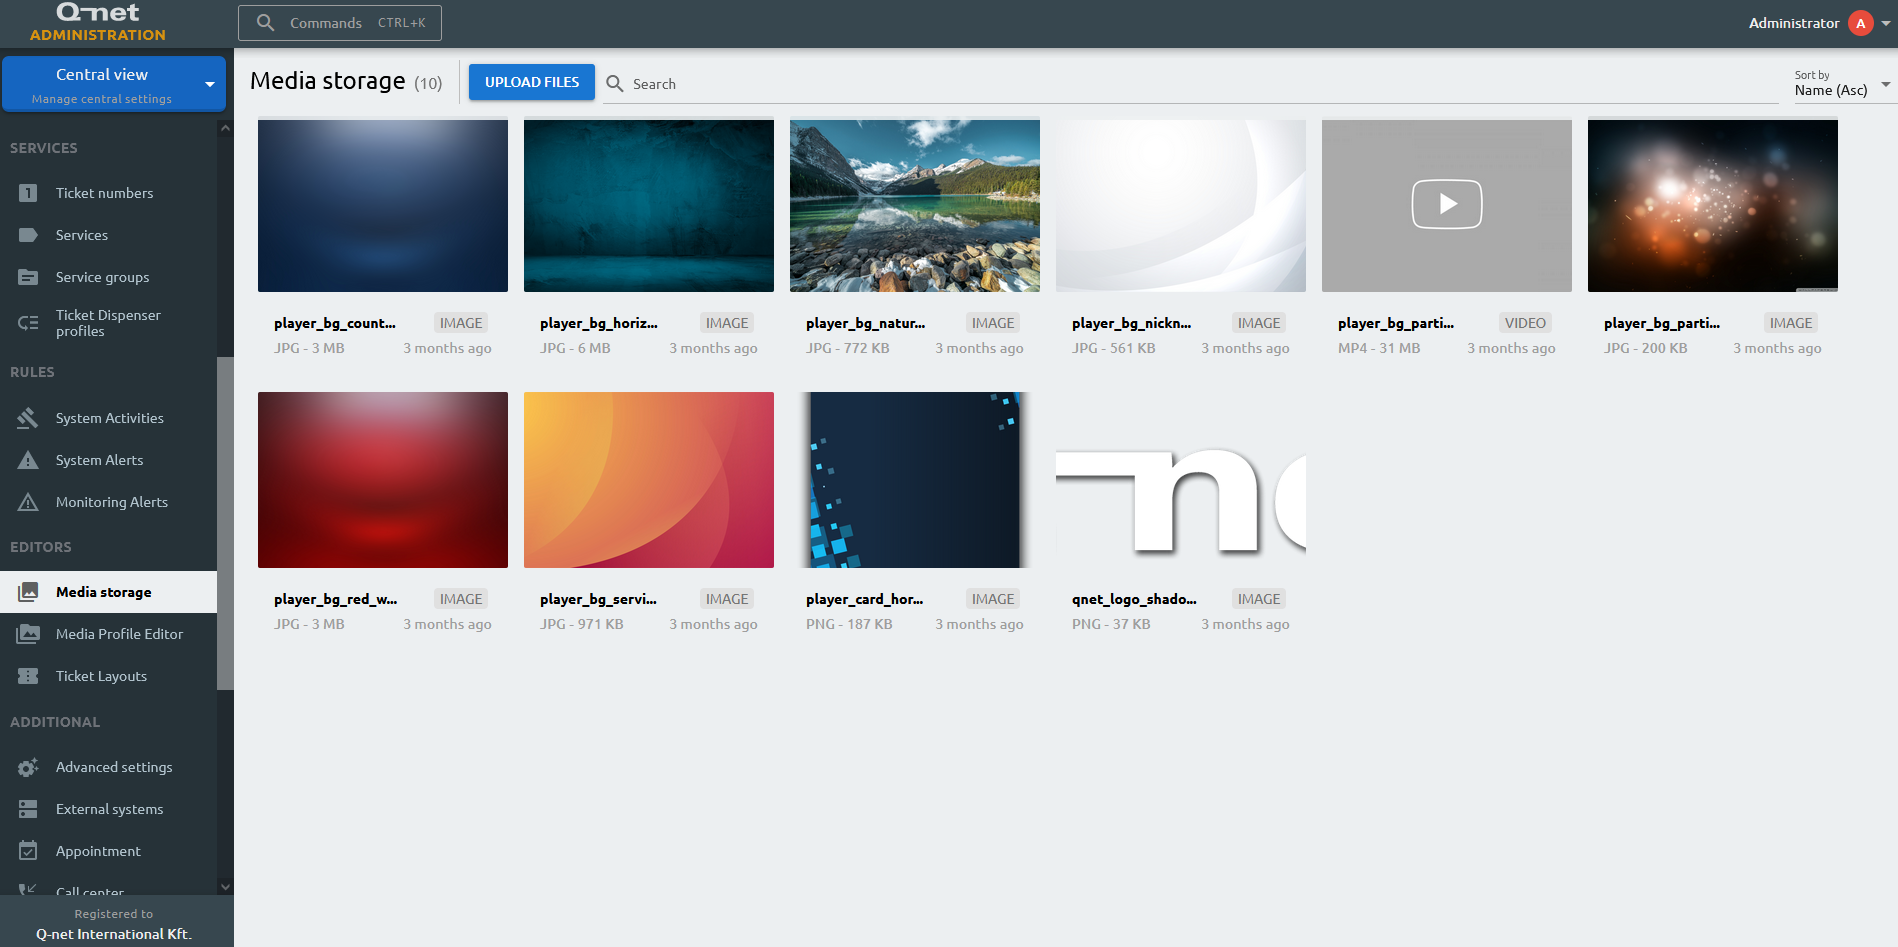
The media storage is responsible for all the media content available for visualization. Both videos and images are stored here. You can upload all the content here by clicking on the Upload files button and drag and drop the media files which you want to use in the future on the image zone or the media zone of the visualization. You can sort the files based on their name, size or the time of upload. The recommended extension for images: png, jpeg; for videos: mp4.
Media profile editor
Profiles
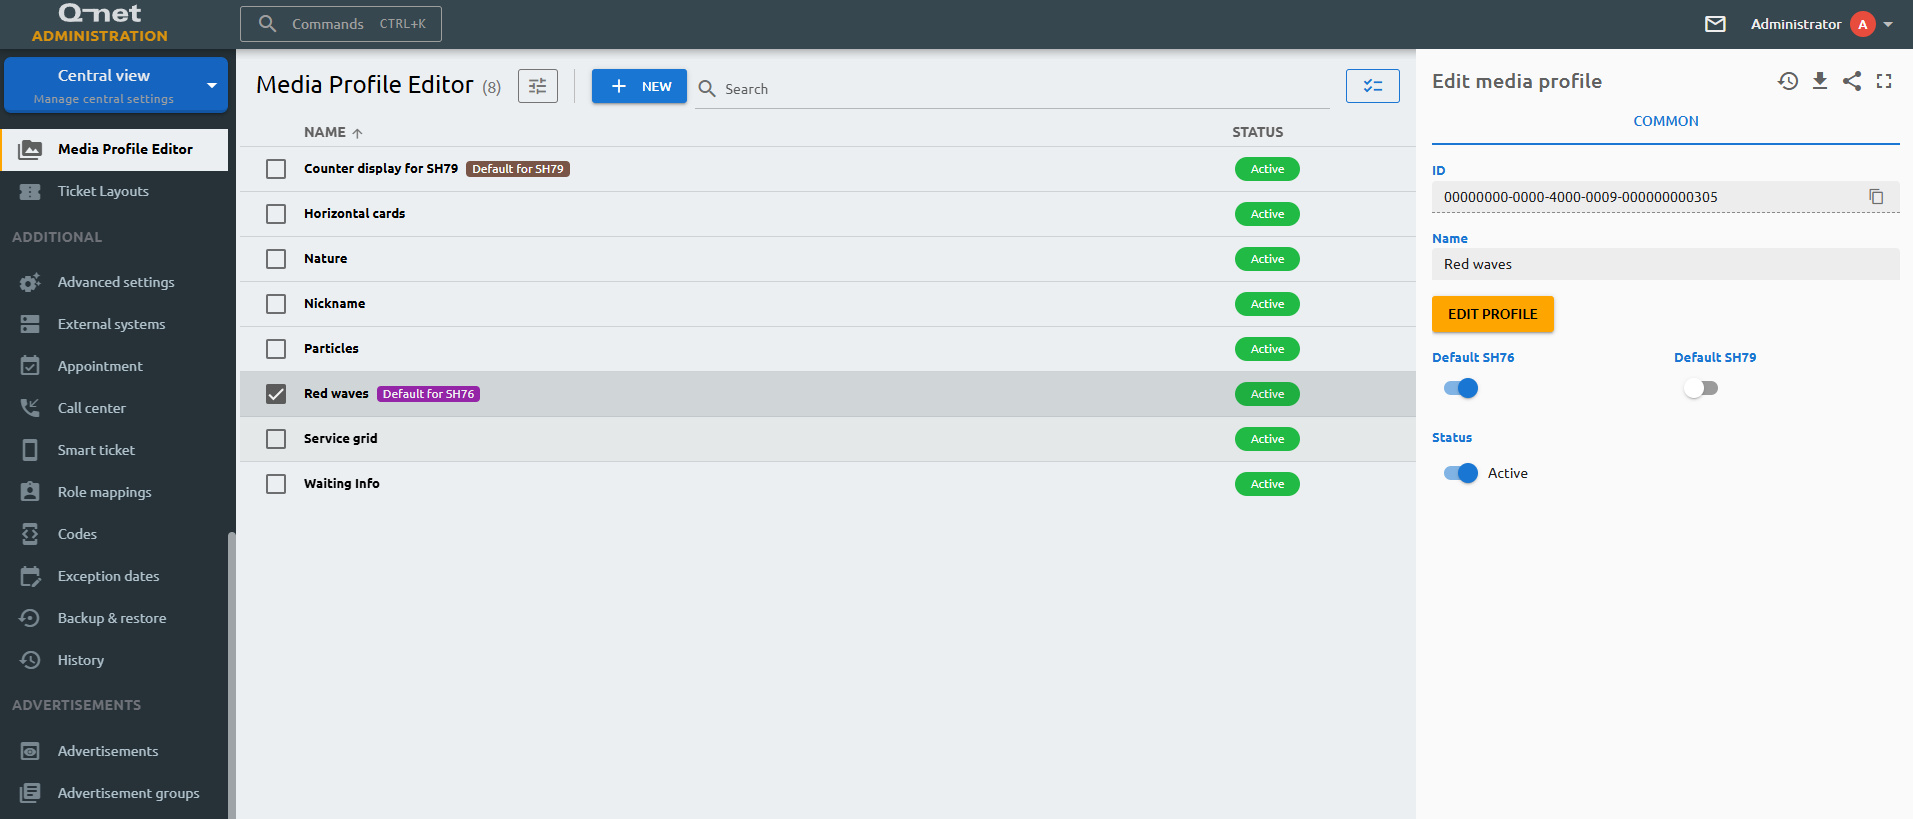
The media manager uses profiles to achieve various visual results. There are several predefined profiles that are customizable. We can customize these existing ones or can create new ones from scratch to be sure that the setup will cover all our needs. We can create profile by selecting the + New button.
The media player profiles can be exported by using the 'Export entity' button in the top right corner in the right-hand pane which is visible when a profile is selected. When a profile is exported, all of the related media files and advertisements are exported with it, making it easy to import to another system.
The default toggle buttons are controlling that the newly added devices from that particular type will be assigned with the selected default media profile.
Icons
Select the resolution fits for the screen of the media player Select the rotation of the screen, horizontally or vertically Fit the screen Zoom in Zoom out By default, the media player shows you all regions. However, you can change the media player's state to a specific state, in the Normal state, the display will act like there is no calling taking place, in Blinking state, the display will act like there is an active call, the Counter logged in and logged out states are useful for SH79 profiles, where the display will act according to these states respectively Refresh the preview Initiate a test call (the display will enter into blinking state) The next playlist item will skip to the next item in every playlistEditing a profile
Setting up regions
On the right hand pane, you can add various elements or regions to the profile.
Every zone have common settings – with which you are able to size and place the regions precisely on the available area. You can also modify the background colors or can upload background images. The settings of each and every region can result in a really unique visual setup or can handle a unified look if needed. The advertisement you wish to show to the clients can be configured for certain type of regions.
The active region is outlined in the editor, and you can resize or replace it by dragging its edges. By pressing ESC, you will jump to the parent zone of the currently selected zone.
Each and every region has its own setting options – apart from the common settings. Every zone can have its own background color or picture with the set of transparency. Saving the modifications are immediately displayed on every device which is using the edited profile.
Blank region
This region doesn’t contain any information, in this region you may incorporate other regions for convenience. We can use this area to mark or to distinguish different areas on the same screen. Other informational zones placed onto blank regions can end up in a frame look. The zones background color can be set in every way to unify the area. If you resize the blank region all the incorporated region will be resized proportionally.
Callinfo region

This is the main element of the media player. This area will visualize the recent and the past calling information from the queue management system. The zone contains two key text fields; one is the variable for the ticket number, the other one is the variable for the counter number. The callinfo region will show the actual and latest calling activities. Futher variables can be defined into text fields, including the customer name, the counter room and the task\service name. The swap value field is for arabic characters, if the swap is enabled and the information is filled.
Font types and sizes can be modified freely for any text field. The Image field allows us to insert a small picture or logo. The Arrow field can simplify the called ticket number to be directed to the specified counter, based on the relative direction from the media player.
Callinfo zone is animated. The fresh information is “rolling” in. The view mode can be set to normal or to grid view. The latter option let us have the opportunity to categorize the calls by the service names or number intervals – even counter names or numbers in case this is the required style.
The refreshing of the callinfo row can happen vertical or horizontal ways. By setting up the Count of rows the callinfo we can specify how many events we need to visualize on the area. A set of configuration options increases the opportunity to set the first row index. For instance, setting the first row index to 2 means that every second event is going to be shown in the first row. Having this option means you will need an additional row that shows the recent info as an actual state.
Each and every zone has a Functions menu where you can Clone or Delete the selected area, as well as using a custom CSS code for further formatting.
Image region
Image region can display static images on the area (from local storage or by using an URL), you can set the transparency and size as well.
Infobox region�
Infobox region can show RSS feeds. Media player can show RSS content from the internet/intranet. To set up this zone you will need to have an RSS URL. The Count of items can be set freely depending on the RSS channel. Refresh interval setup handles the channels information refreshing automated – so the RSS channel will always have the most up-to-date information. Min. duration (sec) can also be set to display the messages for a predefined interval.
Infobox is able to handle pictures sent by the RSS channels as well. If you want to enable this option – to have pictures as well with the newsfeed - we need to check the Show images option at the image settings. The size of the images can be handled by setting the width if images (%). Of course all the fonts type and color and size is free to be modified.
Media region
Media region can show videos and images, including advertisement playlists. The recommended file format for videos is mp4, for pictures are png jpg jpeg. The region can be muted so the videos sound would not conflict with the calling tune.
Newsticker region
The information duration provided by this area can be set. Depending on the values set in the playlist – the region can show for example stock exchange rates, currency exchange rates or simple small clear information.
Scroll region
Typical media player content – usually on the bottom of the screen. With this region we will be able to display static texts or RSS feeds. The speed and the direction of the shown information can be freely modified. The font type and the look of the text can be edited in a different way at this part – it can be done in the playlist itself.
Text region
If a region or an area needs clear identification or needs tag – text zone is used. To do this you would need to set up a text zones. The zone's text field is a mandatory asset to be filled – but you can have a text swapped if you like. In case you want to have swapped text you need to fill the swapped text field as well. Font settings can be done in the zone.
Web region
The area is able to show a predefined webpage. The area is only showing the fixed URL and refreshes it as per the set time interval based upon the Refresh interval value. Content scaling can be set to be able to show the full content of the page (1=100% while 0,5=50%).
Ticket layout editor
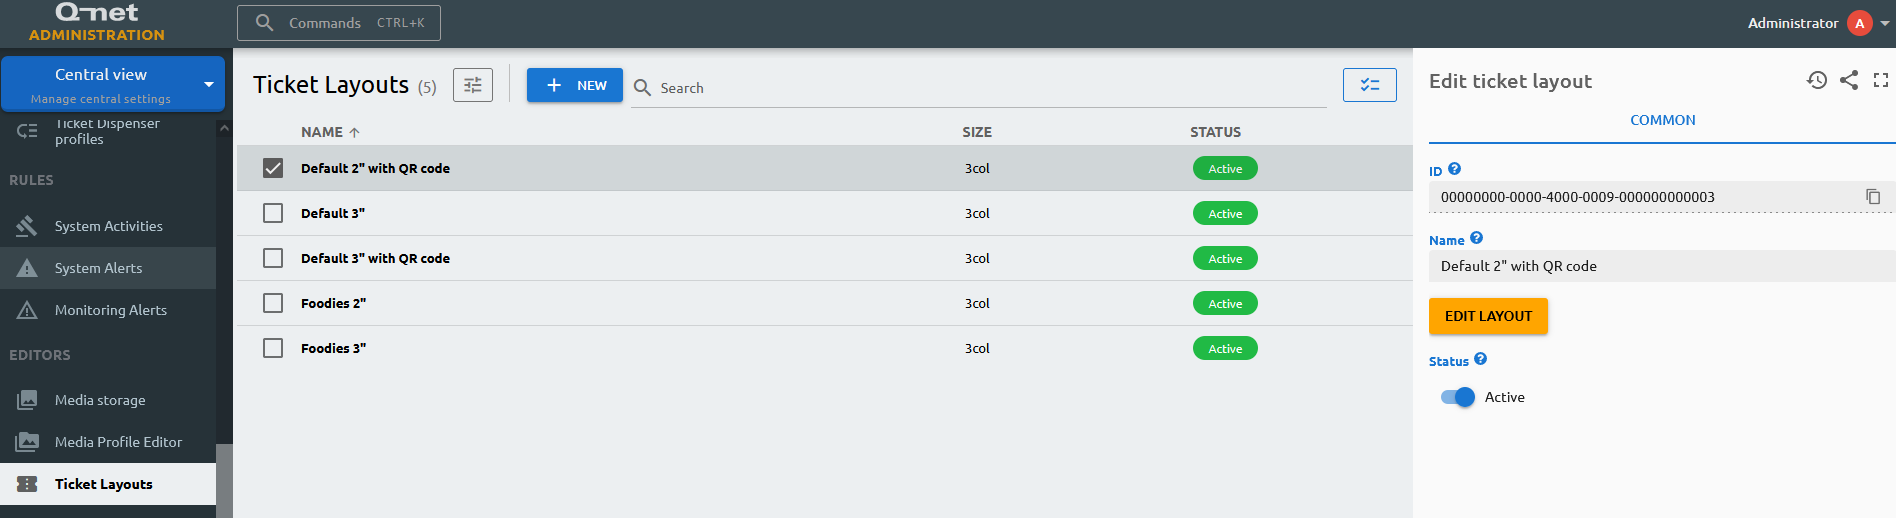
The printed ticket picture is a very important part of the queue management. To be able to set the most suitable printed ticket picture you will have to use the editor tool to adjust and set the desired notions and images. It is supported to Import/Export Ticket layouts.
You can create a New layout or Edit an existing one. You can use the Clone option as well to create a duplicate of an existing template.
Once you have entered to edit mode you can select each element, including the images, texts, dates, and customize their parameters on the right side. You can add new elements that would be needed, or remove the existing ones that are irrevelant to the customer. You can edit the size, text style, alignment and color of the text elements.