Displays
Setting up the displays
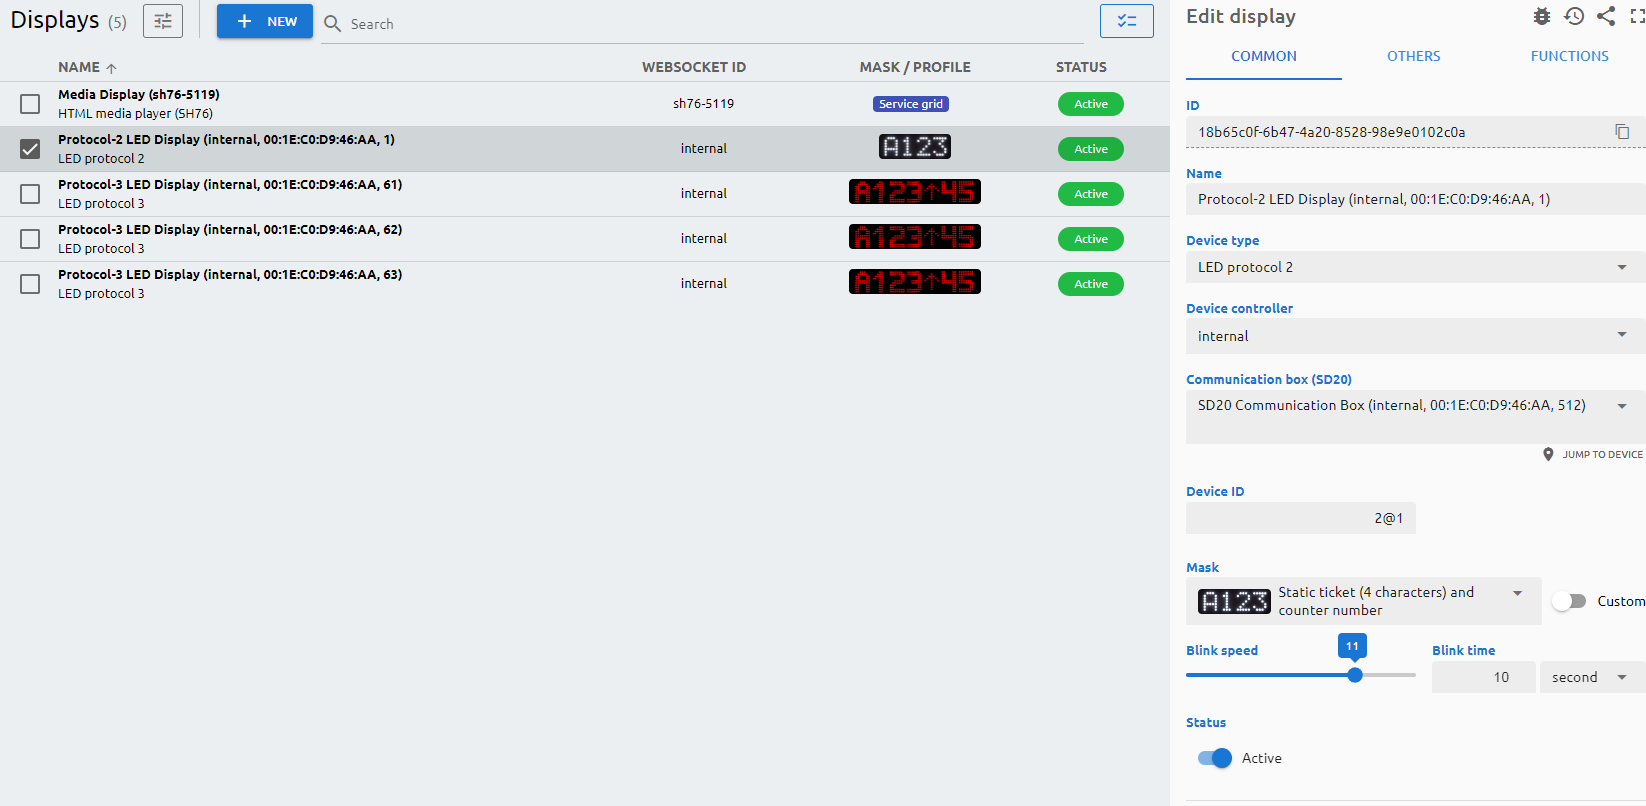
All connected device is registered automatically which is connecting to the branch's device controller. So does all the displays. You can add a new displays with the "+ New" button.
The Type of the display is identified with its communication protocol. Please check the below list to configure them the right way:
LED Protocol 1: DG01, DC01, DG02, DC02, DG05, DC05, DG55, DG56, DC55, DC56, DC65, DC66, DC75, DC76, DB01, DB04, DB05, DB06
LED Protocol 2: DG04, DG60
LED Protocol 3: DS04, DS08
LCD Customer feedback: Only for CF01 Customer feedback device – this can act as a counter display as well.
Selecting a display and configuring the appearance will result the displays final setup. Each and every display can be separately set up – as per the allowed protocols (depending on the type of the display) – how the client is going to use it. Grouped displays also can / needs to be set here if there are special ideas about the look of the calls.
Parameters
Common
displays) or tab (common) in fields.yml!Others
displays) or tab (others) in fields.yml!Profile schedule
You can assign a profile to customize the way the media displays show the content. You can assign multiple profiles per day. By right-clicking on the grid you can clone the profile for every day or delete that profile from the given or from every day.
Functions
Based on your display type, there are multiple test commands can be issues.
- Ping: to see whether your device is online on your network.
- Identify: to send a signal to the display to determine which display is being handled by the display entry.
- Test Call: to issue a test call based on the details you enter to this section
- Clean: to clean the test call.
If your display type supports it, you can send a test message to the screen, you can toggle the info screen to display technical details, and send a refresh screen command.