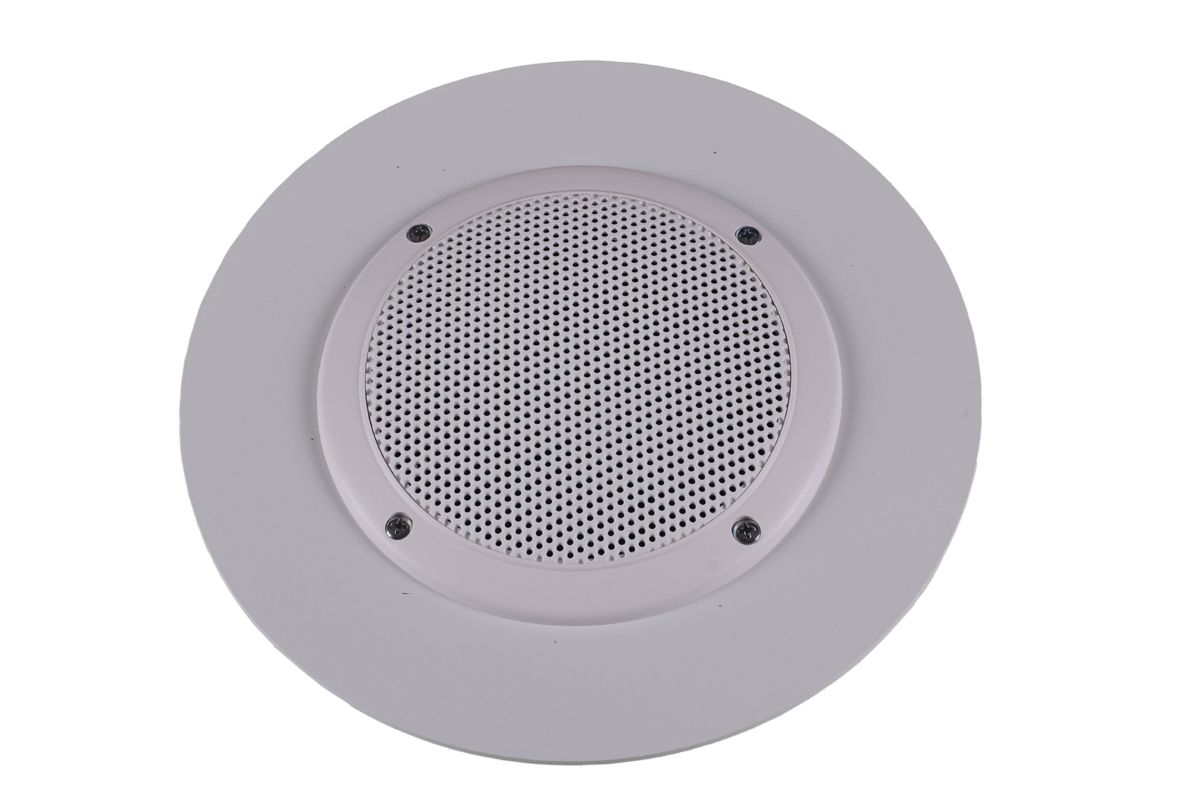
OE05
Features
- High output power. Also suitable for large waiting areas with high efficiency
- Voice calling in case of Q-net BASIC, Q-net BASIC PLUS, Q-net Pro systems (max. two languages)

Technical specifications:
Audio parameters
speaker diameter......................... 110mm
max. output power........................ 10W
frequency range........................... 70-16 000Hz
THD at 1 kHz, 10W…................... 1%
SNR at 10W output power............ >60dB
Dimensions:
230mm x 230mm x 70mm (H x W x D)
Available Colors:
Black, white
Inputs:
Rating………...................……. 12VDC, max 2A
Communication…....Q-net RS-485 (RJ-12 plug)
operating temperature…..+10..50 Celsius
miroSD card requirements:
Minimum 128MB, maximum 2GB microSD or microSDHC card, with the voice files on FAT32 system.
Voice files need to follow these requirements:
-
11.025, 16.000, 22.050 Hz sample rate 8/16 mono PCM WAV files
-
FAT16, NTFS or other files systems are not recognized
Device operation:
Directly after switching on you see the actual firmware version on the display. After this you get the actual operation mode::
- F-0: Q-net BASIC, Q-net BASIC PLUS, Q-net Pro
- F-1: Q-net Pro
Changing the operation mode:
- Disconnect the RJ-12 plug.
- Press and hold the RIGHT button.
- Reconnect the RJ-12 plug (while the button is still held). The newly chosen operation mode will appear: F-0 or F-1.
- Release the button to save the new mode.
Setting the device’s address:
- Disconnect the RJ-12 plug.
- Press and hold the LEFT button.
- Reconnect the RJ-12 plug (Sign “ADR” starts blinking.)
- Release the left button.
- Start pushing the right button (or hold it) and you will see the new address.
- Press the left button to save the address.
Content of the SD card
- Long file names are not allowed.
- Do not store any unnecessary files on the card.
The content of the SD card is different in the two operation mode!
In case of F-0:
All files in the SD card must be in the root directory.
The device will play the files in the following order:
-
1clxxx.wavis played, where xxx is the client’s number (1-999) -
1coyyy.wavis played, where yyy is the counter’s number (1-99) -
2clxxx.wavis played, where xxx is the client’s number (1-999) -
2coyyy.wavis played, where yyy is the counter’s number (1-99)
In case of one language you have to use the first playable language files.
e.g.: 1cl001.wav, 1co012.wav, 2cl045.wav,…
In case of F-0 mode the address of the device has to be the same, like the first unit of the waiting area display.
In case of F-1:
The files have to move into a two character folder. These two characters must be the country code of the language. The files must be in the following format:
Client number: clxxx.wav
Counter number: coxxx.wav
E.g. for English ticket number 123:
\\EN\\cl123.wav
E.g. for English counter number 001:
\\EN\\co001.wav
The display will show the file number for a moment and after that the E-09 error code if a file is missing.
Default sounds
Volume settings:
During normal operation, press DOWN or UP button to set the volume accordingly.
The device plays the \\1cl999.wav file during setting the volume in F-0 mode.
The device plays the \\default.wav file during setting the volume in F-1 mode.
You can set the volume remotely with software in F-1 mode.
DING-DONG sounds:
The device will play the \\AD\\ad005.wav file if you enable the “play ding-dong signal” option in the latest Q-net PRO software.
Error codes:
E-01 ... E-08: Wave file format unrecognized or unsupported
E-09: Wav files not found
E-32: SD card initialization failed
Increasing volume is not possible with increasing the number of units! The voices of the units are not synchronized with each other!
Installation and configuration
This device type is connected to SD20 communication box via OE01 distributor.
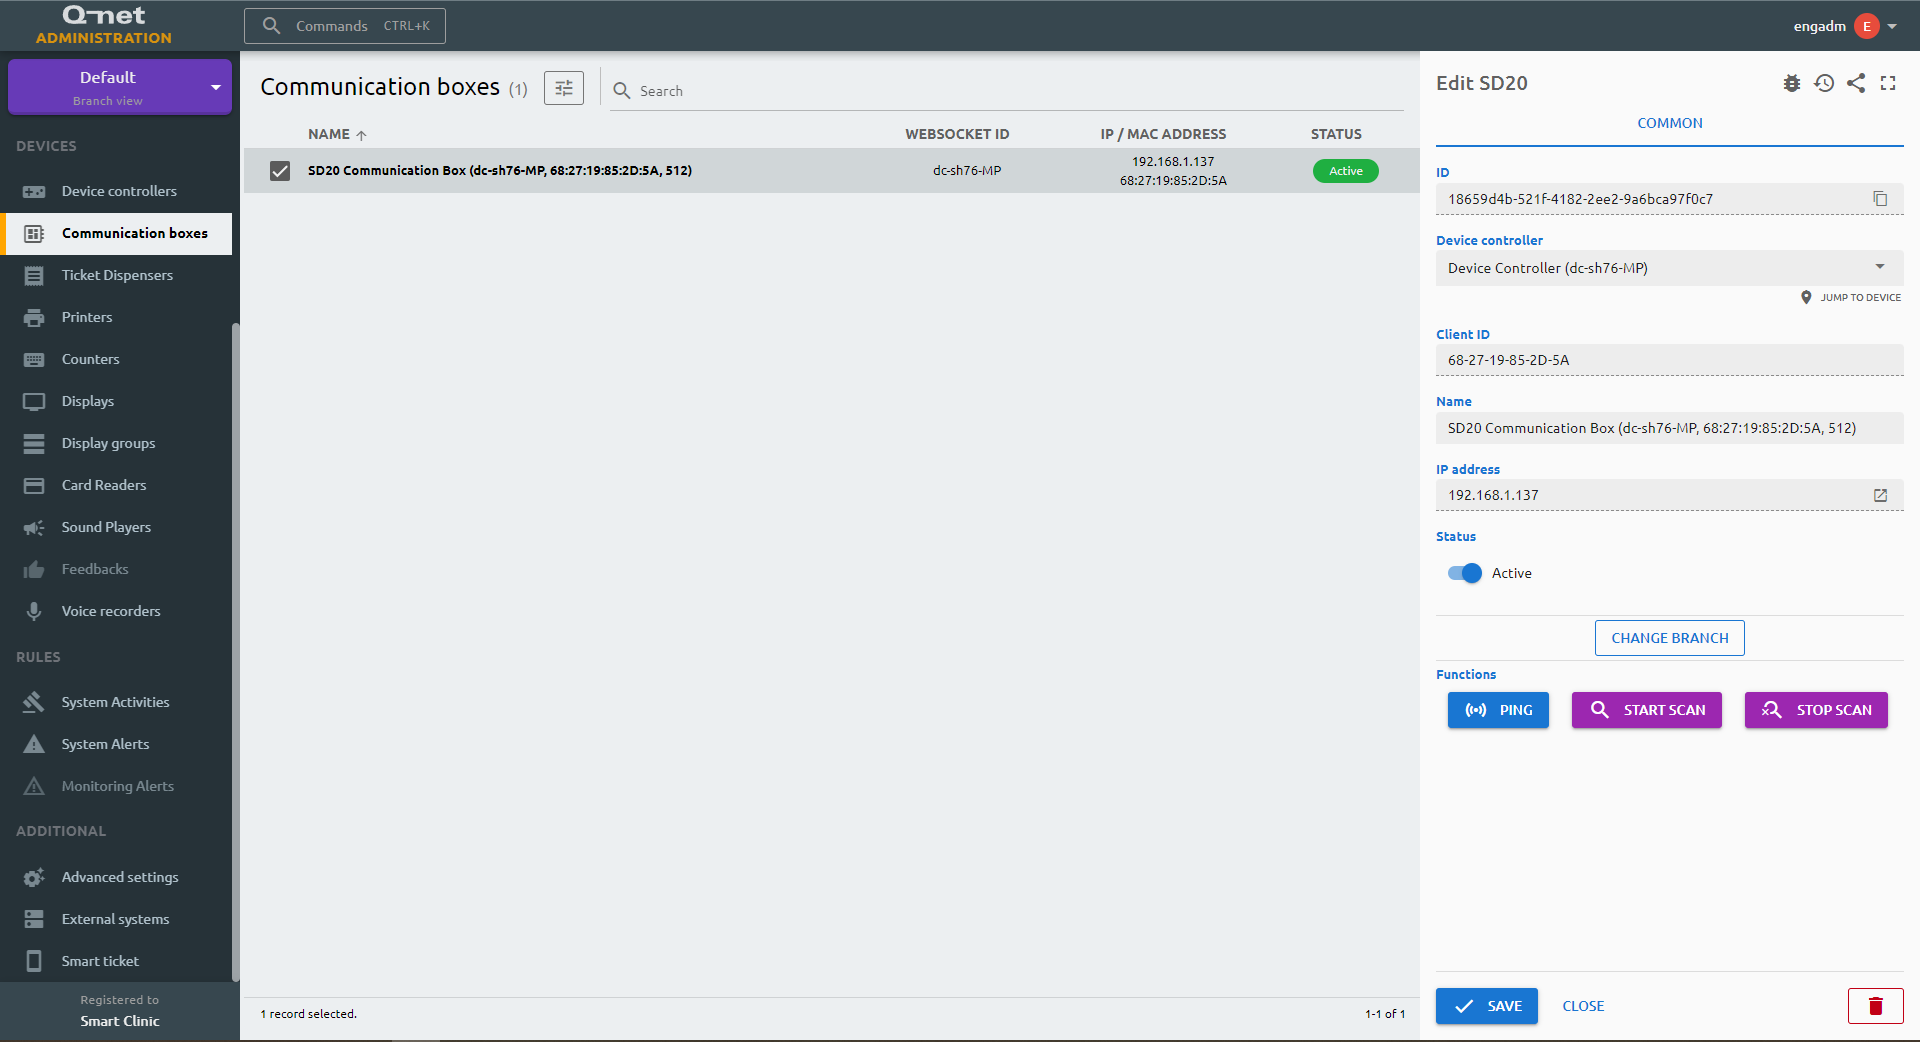
On the administation page the device can be added manually, by selecting its type (OE05), the SD20 box where it is connected, the device controller and the device ID. Alternatively it is also possible to select the SD20 communication box (Communication boxes menuitem) at the particular branch and click on "Start scan" button.

After awhile - if the connections are OK, the speaker should be detected and should appear at the sound players in the branch where the SD20 communication box belongs to. You can select the device and adjust additional calling paremeters as described here. Also don't forget to visit the counter settings and adjust the speaker to those, which counters should use this speaker.