Displays
Setting up the displays
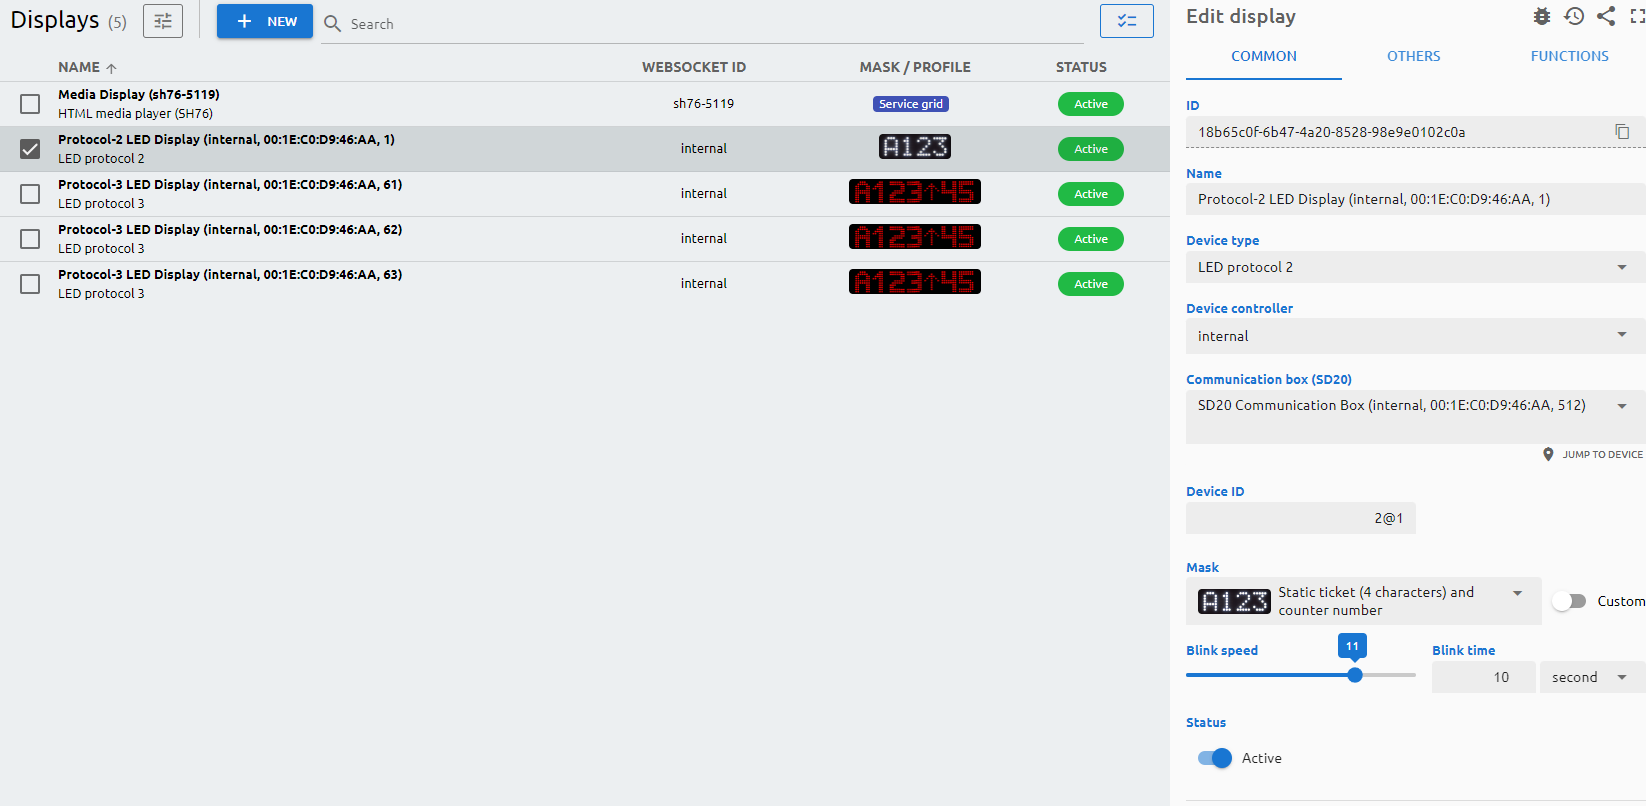
All connected device is registered automatically which is connecting to the branch's device controller. So does all the displays. You can add a new displays with the "+ New" button.
The Type of the display is identified with its communication protocol. Please check the below list to configure them the right way:
LED Protocol 1: DG01, DC01, DG02, DC02, DG05, DC05, DG55, DG56, DC55, DC56, DC65, DC66, DC75, DC76, DB01, DB04, DB05, DB06
LED Protocol 2: DG04, DG60
LED Protocol 3: DS04, DS08
Selecting a display and configuring the appearance will result the displays final setup. Each and every display can be separately set up – as per the allowed protocols (depending on the type of the display) – how the client is going to use it. Grouped displays also can / needs to be set here if there are special ideas about the look of the calls.
Parameters
Common
ID
The ID is given by the system and is required for internal processes, and can serve purposes for debugging in case of issues.
Name
The Name is a user-given name.
Device type
The Type of the display is identified with its communication protocol.
Websocket ID
The Websocket ID (or WSID) is the unique identifier of the display.
Device controller
Determines which device controller is handling the display.
Communication box (SD20)
The connected communication box.
Port
The number of the COM port.
IP or Host
The IP address or host name with port number of the display.
COM port
The number of the COM port.
Client ID
The client identifier (address) of the display. It is used by display types that require it, such as the USB LED display protocol 1 – enter the address assigned to the device.
Device ID
The Device ID will be populated automatically by the protocol used by the display.
Mask
You can select the preconfigured type of masking or you can create a custom masking. Select the mask and select the custom button to see how the variables are being displayed. You can also add the ‘#{name}’ variable if the customer name feature is enabled and you wish to display it on the LED screen.
Blink speed
Determines how often the blinking is taking place.
Blink time
Determines for how long the blinking is taking place.
Status
Active/Inactive switch to determine if the device should be used in any service.
URL
You can reach the media player via a browser by navigating to this URL. Please note: you have to add to the end of the URL the technical user’s API key.
Connection type
The connection protocol used by the display.
Others
Media URL
You can point to an URL from where the media files will be played. In case of local device controller, it should be http://localhost:3000.
Swap time
The time interval, in seconds, after which the display alternates the content it shows, switching between the two values configured for it. Set it to 0 to turn alternating off.
Idle time
The idle time determines when to switch off the display after the last call.
Arabic
By enabling this option, the text and the numeric values will be displayed in Arabic.
Narrow text (for DB54)
When enabled, the display shows its text in a narrower font so longer content fits on the screen. This option is available only for the DB54 display.
Profile schedule
You can assign a profile to customize the way the media displays show the content. You can assign multiple profiles per day. By right-clicking on the grid you can clone the profile for every day or delete that profile from the given or from every day.
Functions
Based on your display type, there are multiple test commands can be issues.
- Ping: to see whether your device is online on your network.
- Re-pair: to re-pair the device with its device controller.
- Identify: to send a signal to the display to determine which display is being handled by the display entry.
- Test Call: to issue a test call based on the details you enter to this section
- Clean: to clean the test call.
If your display type supports it, you can send a test message to the screen, you can toggle the info screen to display technical details, and send a refresh screen command.