Advanced settings
Tickets tab
Minimum waiting time on the ticket
You can edit the Minimum waiting time on the ticket which is going to appear on the printed ticket as a minimum value. So if the first customer asks for a ticket s/he is going to see that no one is in the queue although s/he has to wait a little bit.
Maximum waiting time on the ticket
The contrary applies to the Maximum waiting time on the ticket. This value will show the maximum on the printed ticket as a waiting time tranquillizing the customers in case of a huge queue.
The ticket should be placed to the top of the queue when redirected
The ticket should be placed to the top of the queue when redirected gives the opportunity to handle the redirected customers with maximum priority.
Ticket validity time for customer feedback
Ticket validity time for customer feedback is the timeframe for common feedback devices to be able to delay a feedback about a transaction.
Client who has an appointment, operates as an identified client
Client who has an appointment, operates as an identified client can be set if the appointment module is in use. If this option is checked – the client who has an appointment acts an identified customer with all the privileges of it.
Sorting method of waiting tickets
In case of basic matrix, every counter and every user can handle every service and only the service priority matters. Priority matrix is to organize the work in a more flexible way by selecting those clerks and counters that are able to handle all the services but depending on the size of the customer-flow per day the clerks/counters will be able to handle services on different priority levels. Time based matrix modifies the priority of a ticket, based on configured time limits. The Normal and the Forced delay values can be changed from the Services section, Others tab
Method of calculating the number of people waiting
Method of calculating the number of people waiting can be set to Number of tickets per service – so that every service will have a waiting client who has selected that service. In case the Calculated number of forthcoming calls is selected – than the number of future calls are the base. If the Calculated length of the clerk’s queue is selected – the available clerks per service are the base of the waiting number of the services.
Waiting time calculation source
Select the source for the waiting time calculation. If Service is selected, the predefined time values are used (set in the Services section). If Statistics is selected, the waiting time is calculated from the recent statistical data per service.
Nr. of days to calculate the avg. waiting time of the services
The number of days of statistical data used to calculate the services’ average waiting time. This option is only available when the waiting time calculation source is set to Statistics.
Maximum number of missing clients repeated calls
You can decide how many times can a missing customer be recalled at the Maximum number of missing clients repeated calls
Put back missing client to the queue after configured time
How much time do you allow for the system to put back the same customer into the queue so that he or she can be called again Put back missing client to the queue after configured time.
Counters tab
Autocall starts from
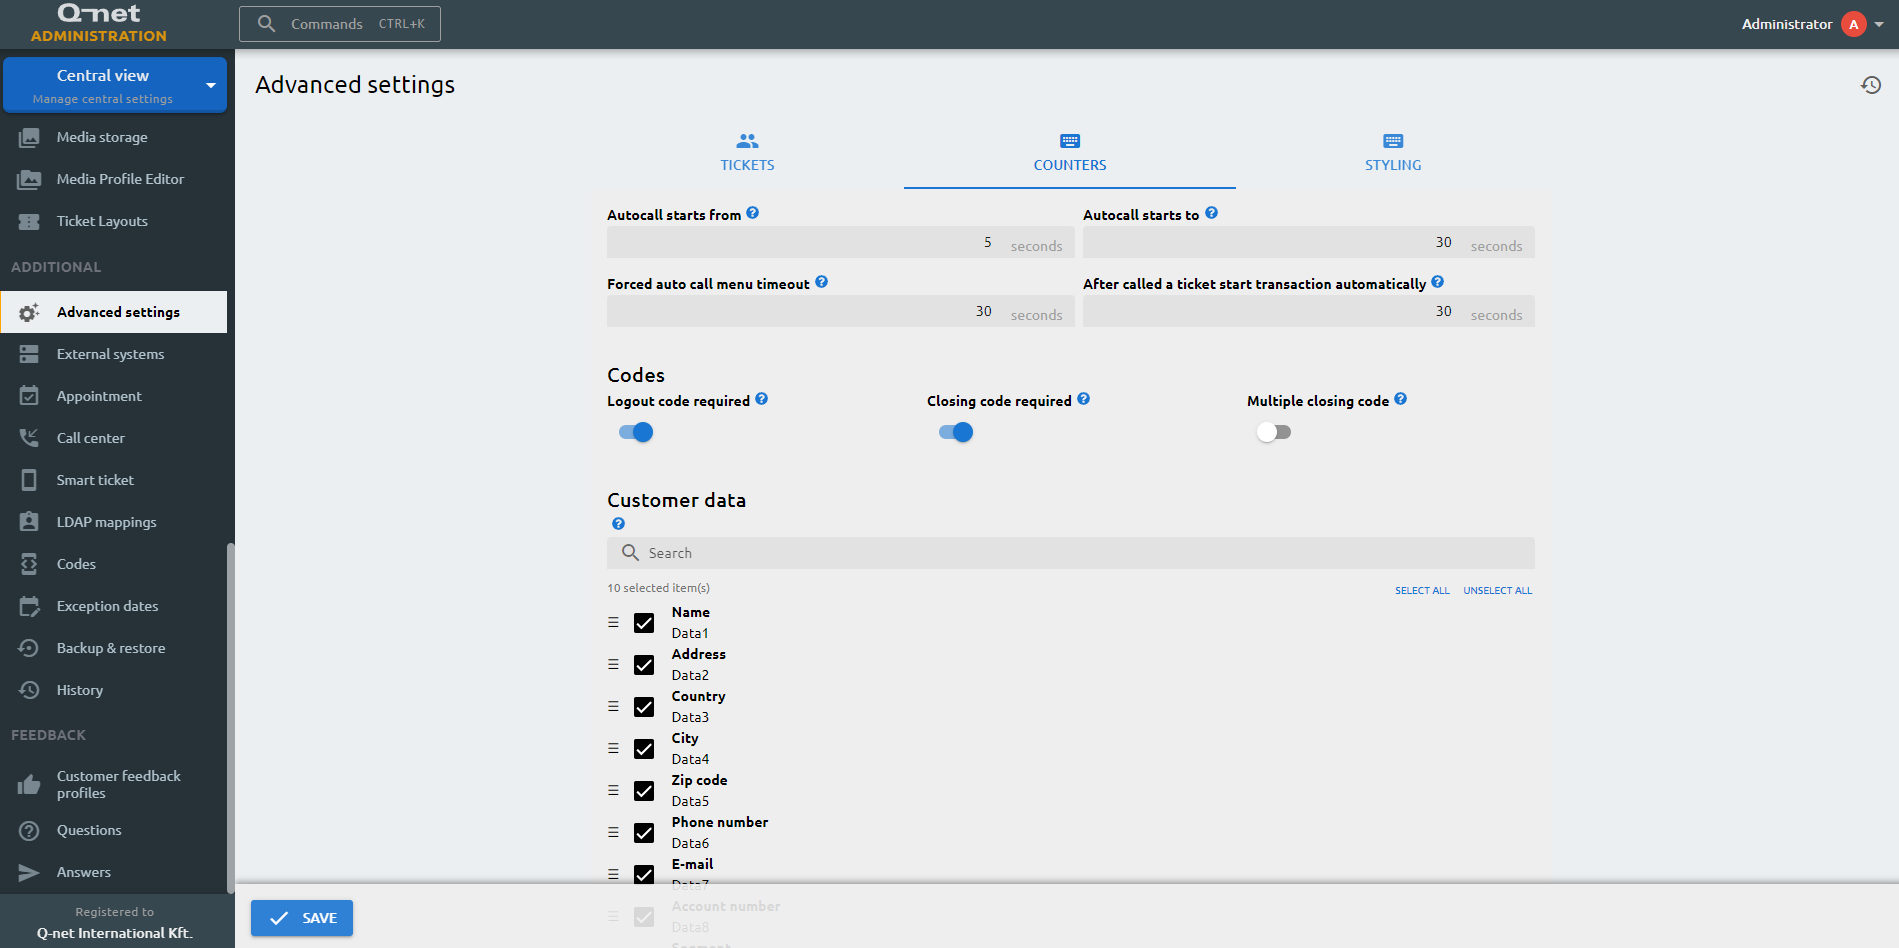
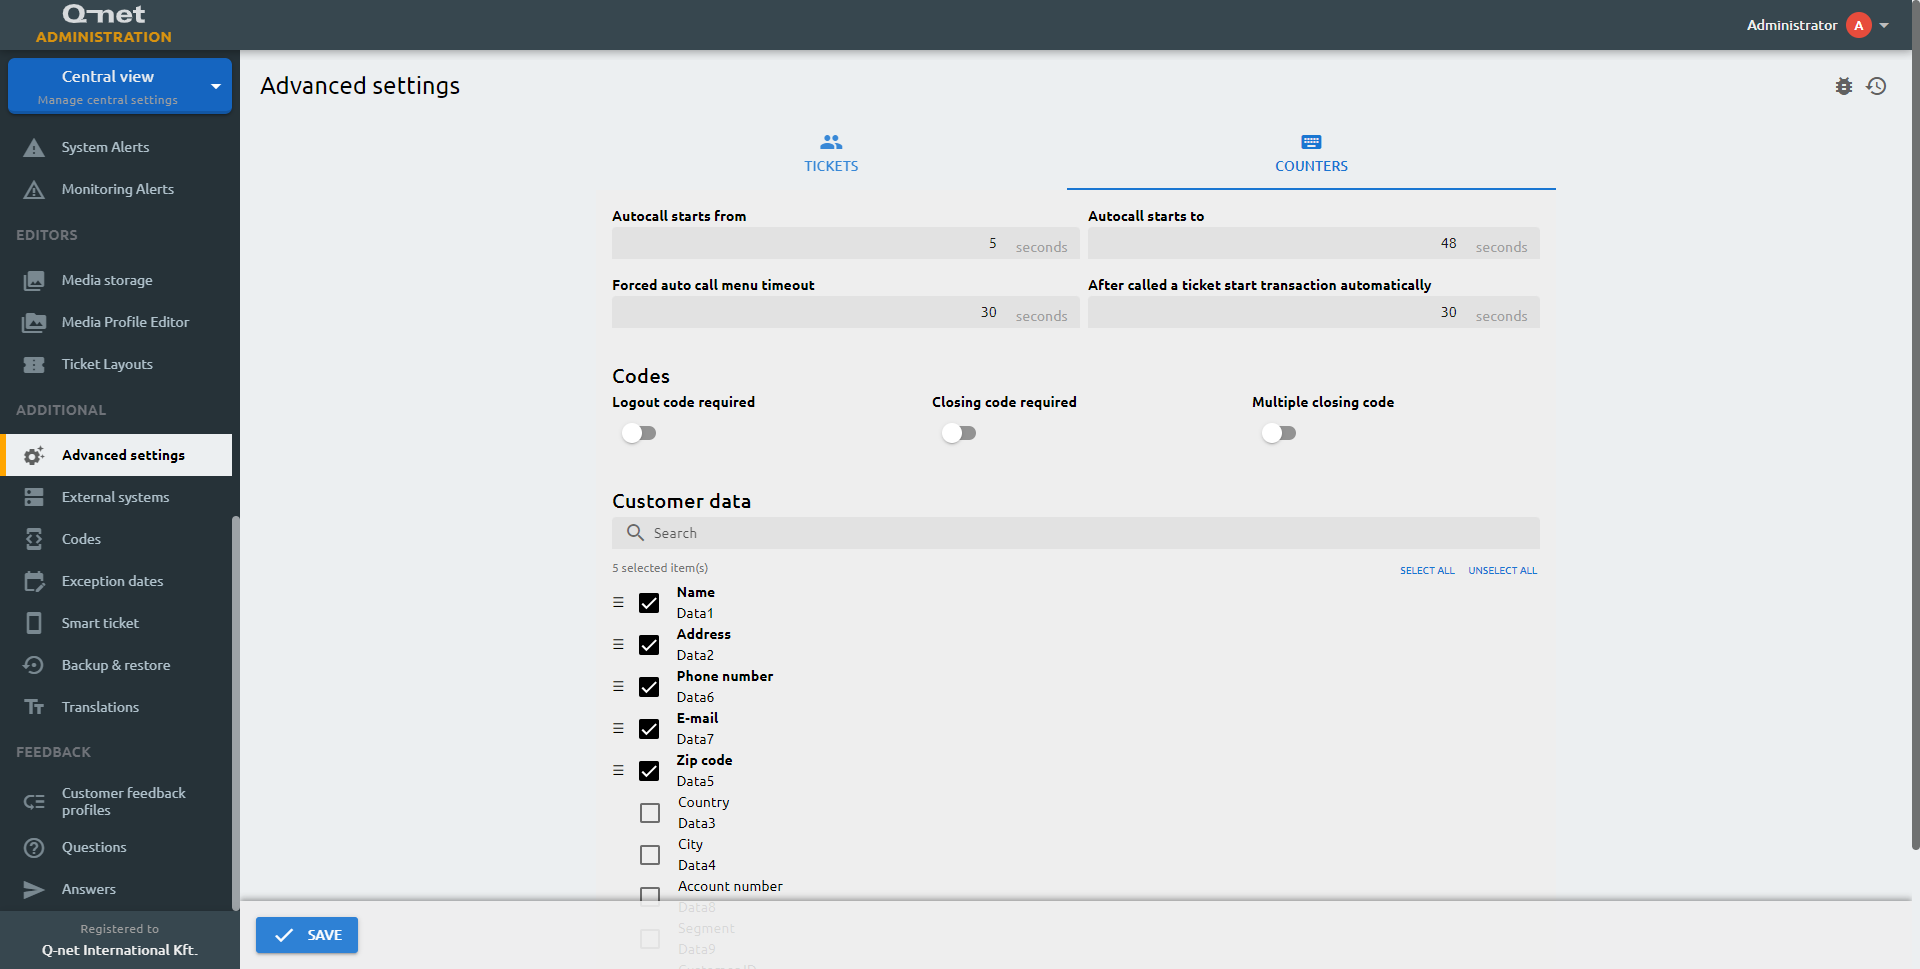
Minimum time between the end of the transaction and the automatic call of the next ticket. During this time, the administrator may log off and perform other operations.
Autocall starts to
Maximum time between the end of the transaction and the automatic call of the next ticket. During this time, the administrator may log off and perform other operations.
Forced auto call menu timeout
In the case of forced auto call, the time between the end of the transaction and the next ticket being autocalled. After this time, the new customer will be called even if the clerk at the softwarekeyboard is performing other activities, e.g. looking at statistics.
After called a ticket start transaction automatically
The time that passes after a ticket has been called before the transaction is started automatically, so the clerk does not have to start it manually.
Logout code required
Logout code is to determine why the system users (clerks) have been logging out. Using this feature will help the local manager to keep a track about the working time of a clerk.
Closing code required
In case the Closing code required box is checked it enables the clerk to determine the precise purpose of the transaction if the selected service name covers general subject: for example the name of the selected service is “Information” the clerk can define what information was requested by the customer: about the bank, about opening hours, about investment possibilities, etc.
Multiple closing code
Multiple closing code required enables to record more than one closing code to a certain transaction: for example the clerk has to give the age of the customer that was asking about opening a new account.
Customer data
You can modify the customer data and their order that are available on the calling unit here.
Styling
In the styling settings you can customize the color themes which are applied on the ticket dispensers, the feedback devices and on the smart ticket web interface, including changing the displayed logo and the background. Additional settings, such as hiding the header and footer, editing the header and footer text are available in the Appearance section of the ticket dispenser profile settings.
Color scheme
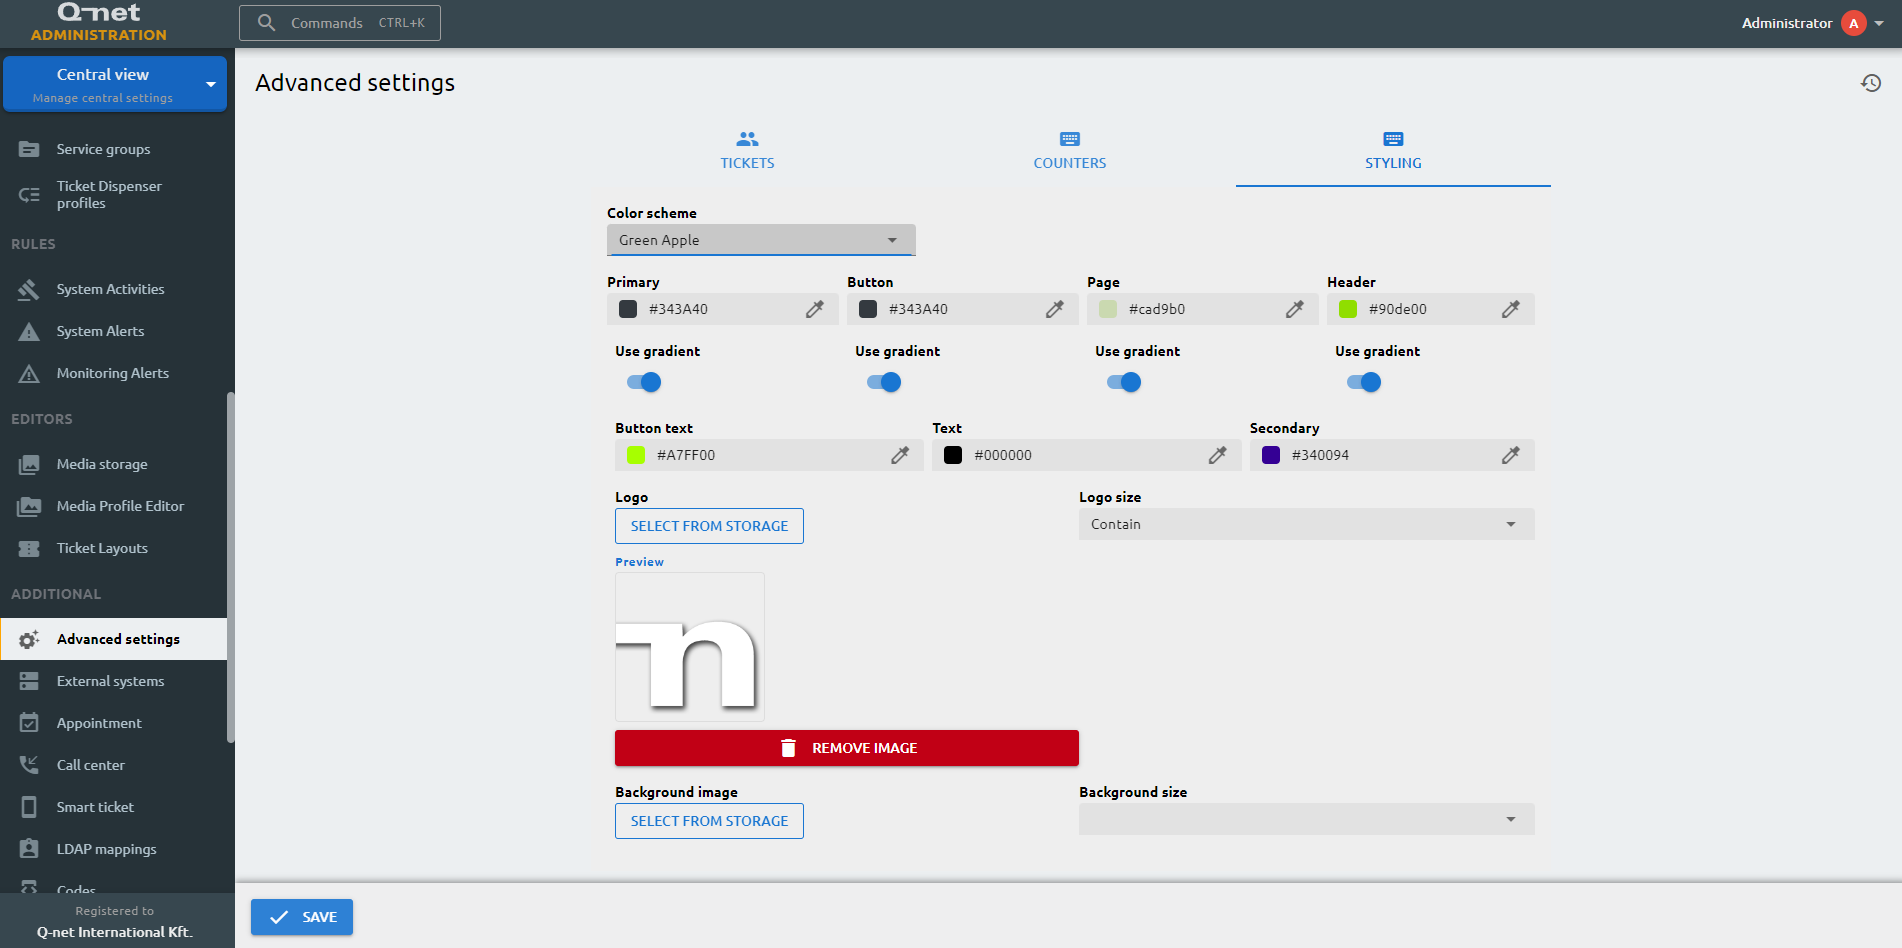
The color schemes are a set of predefined colors, which are applied on all editable items.
Primary
The primary color is applied on the selectable services.
Button
The button colors are applied on the appointment and authentication buttons, and the interaction buttons.
Page
The color of the background.
Header
The color of the header.
Use gradient
The color of the selectable services are displayed in gradient tones.
Use gradient
The color of the user interaction buttons are displayed in gradient tones.
Use gradient
The color of the background is displayed in gradient tones.
Use gradient
The color of the header is displayed in gradient tones.
Button text
The color of the button texts.
Text
The color of the displayed texts, including those in the header and the footer.
Secondary
The color of the text of the user notification displayed on the Smart Ticket interface.
Logo
You can select an image to be used as a logo, displayed on the left side of the header.
Logo size
- Auto: Scales the background image in the corresponding direction such that its intrinsic proportions are maintained.
- Contain: Scales the image as large as possible within its container without cropping or stretching the image.
- Cover: Scales the image (while preserving its ratio) to the smallest possible size to fill the container (that is: both its height and width completely cover the container), leaving no empty space.
Background image
You can select an image to be used as a background.
Background size
- Auto: Scales the background image in the corresponding direction such that its intrinsic proportions are maintained.
- Contain: Scales the image as large as possible within its container without cropping or stretching the image.
- Cover: Scales the image (while preserving its ratio) to the smallest possible size to fill the container (that is: both its height and width completely cover the container), leaving no empty space.