Call Center
On this page a call center employee can create or delete appointments. In order to show the time slots of a service, first select a branch and a service. The calendar will show the passed and the fully occupied time slots with grey and the time slots with available slot with green.

Create, delete appointment
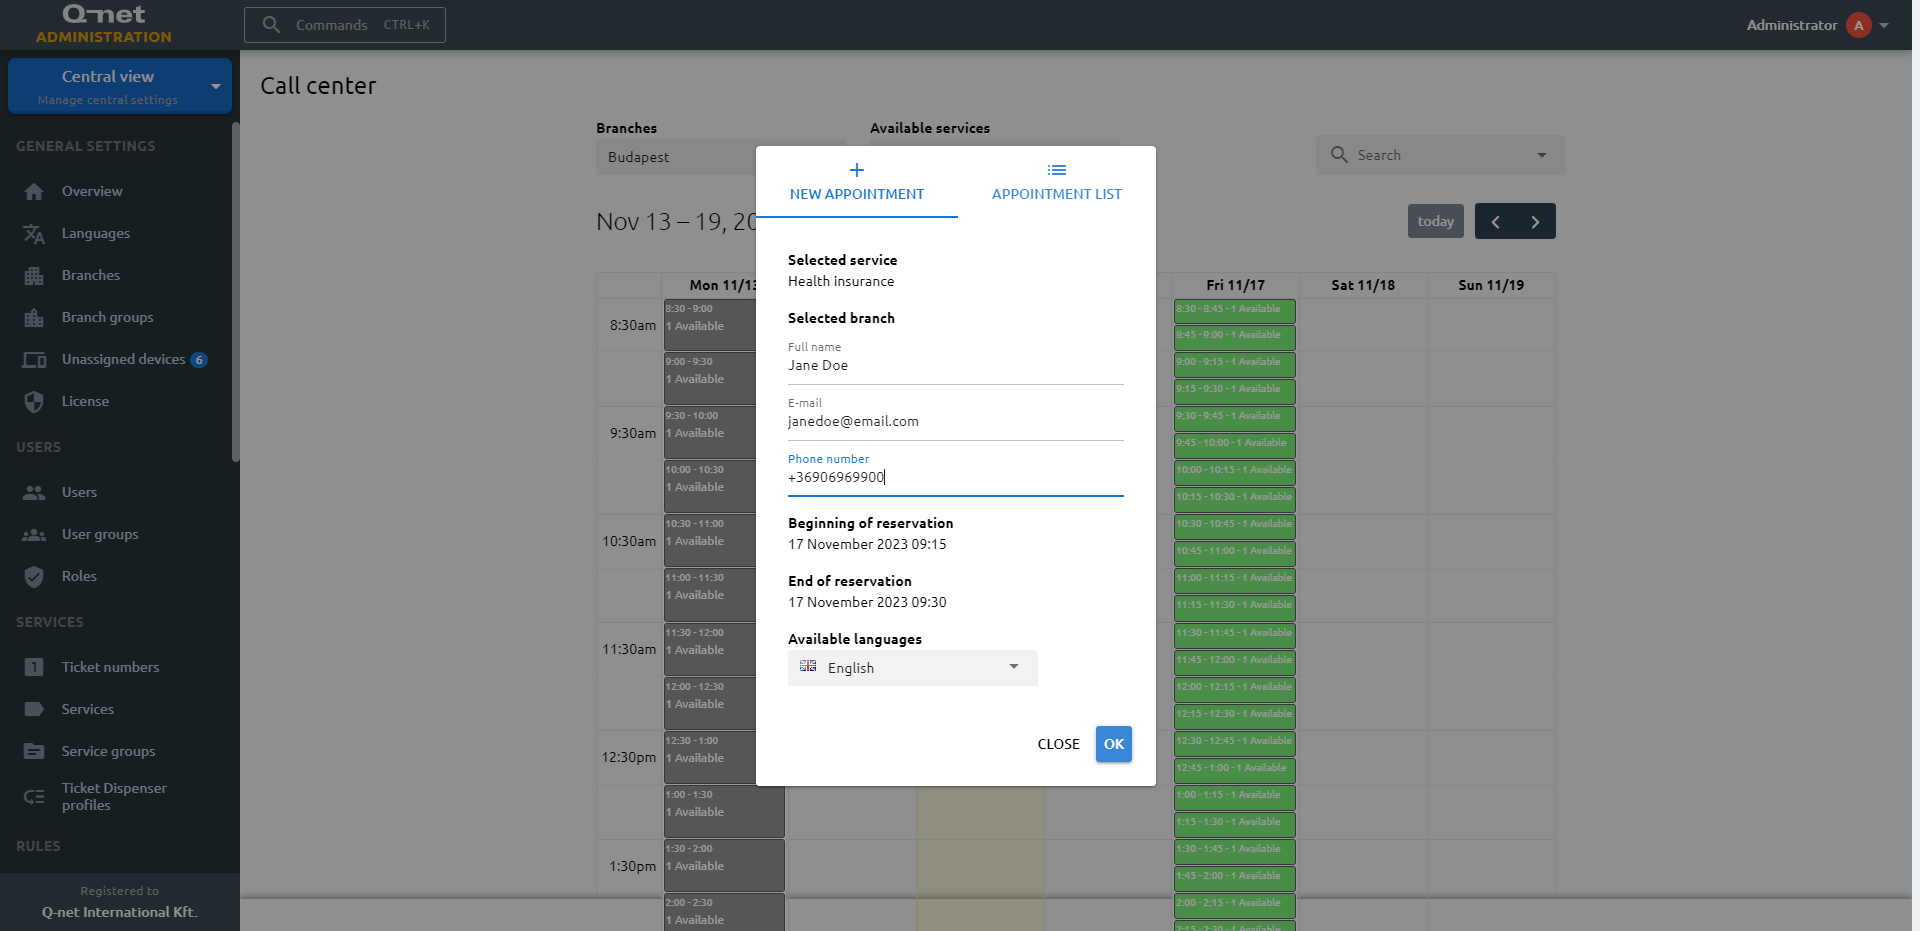
Select a green time slot to schedule an appointment. A pop-up window with two tabs will appear. The New appointment tab will be active by default, allowing you to create a new appointment. Enter the customer's details and choose the language in which the customer should receive notifications; only the languages enabled for the selected branch are offered. Once you have filled in the required information and selected a language, click the Save button to create the appointment.
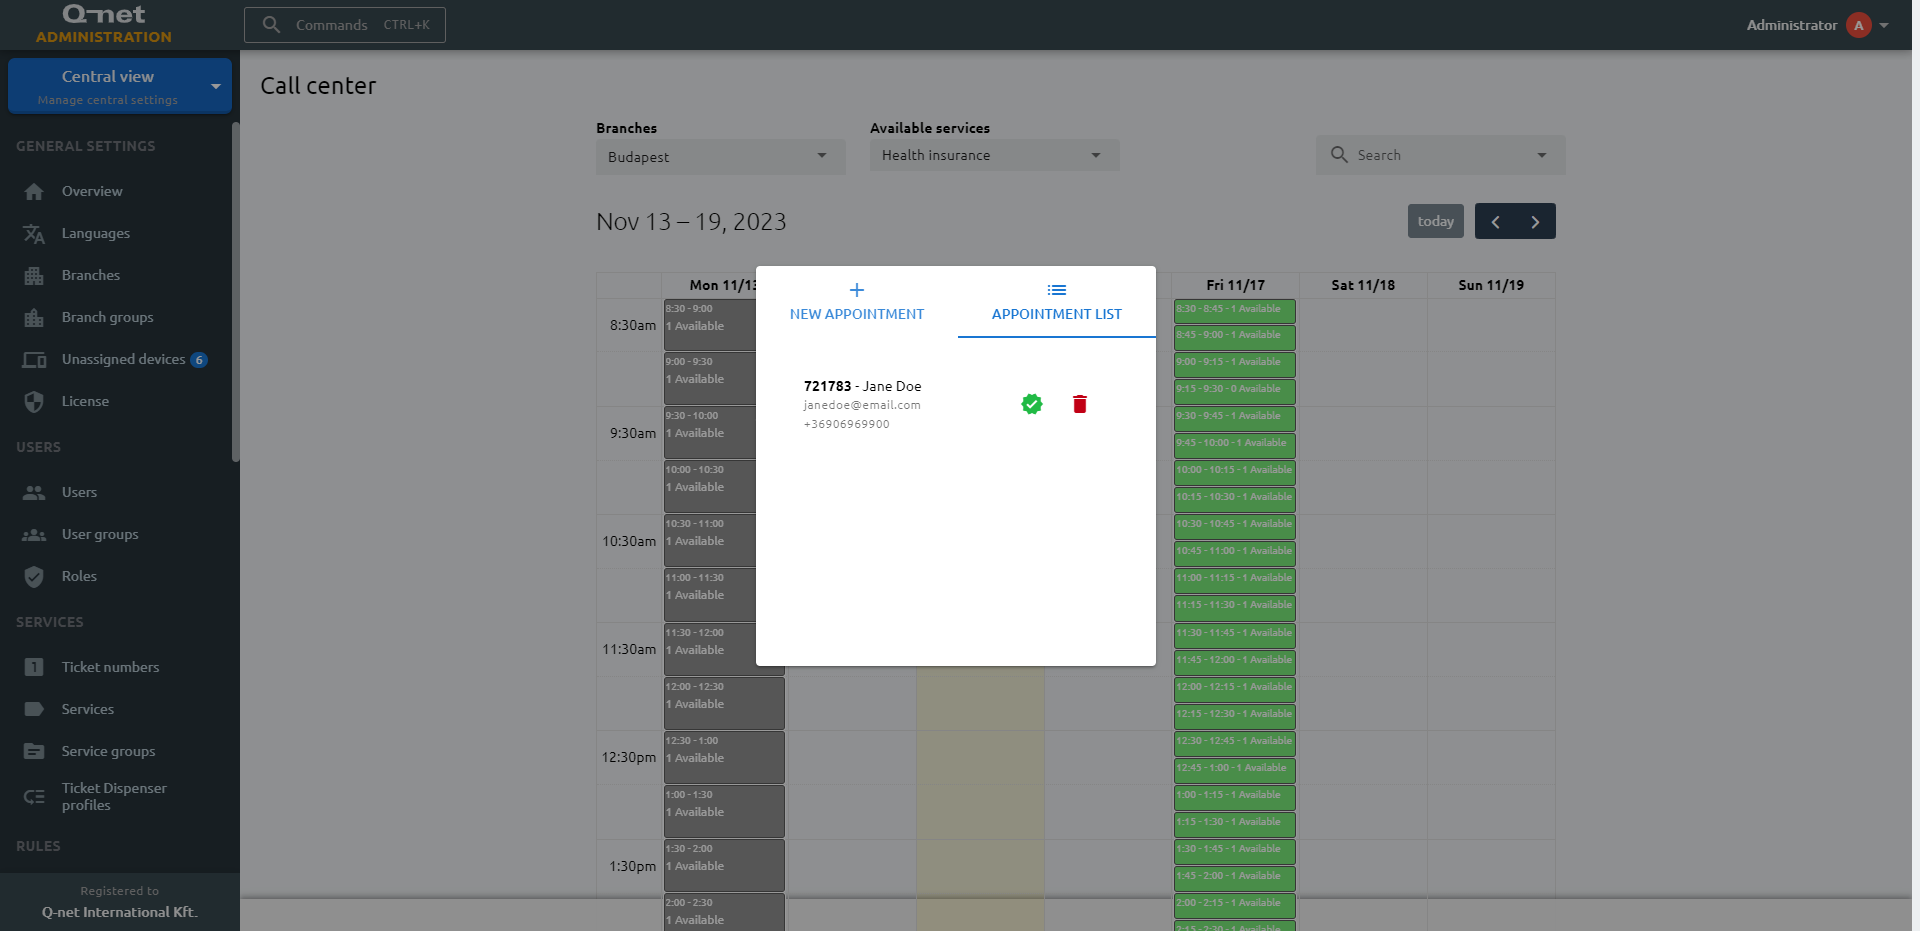
If a time slot has existing appointments, they will be listed under the Appointment list tab. A colored badge will appear next to each appointment, indicating its status. A green badge indicates a verified appointment, while a yellow badge indicates an appointment that is still awaiting confirmation. Click the yellow badge to confirm such an appointment, or click the red bin icon next to an appointment to delete it.
When an administrator deletes a reservation in Call Center page or a clerk on the calling unit, the system sends an email (and/or SMS) message to the customer about the deletion with the reason.
Search an appointment
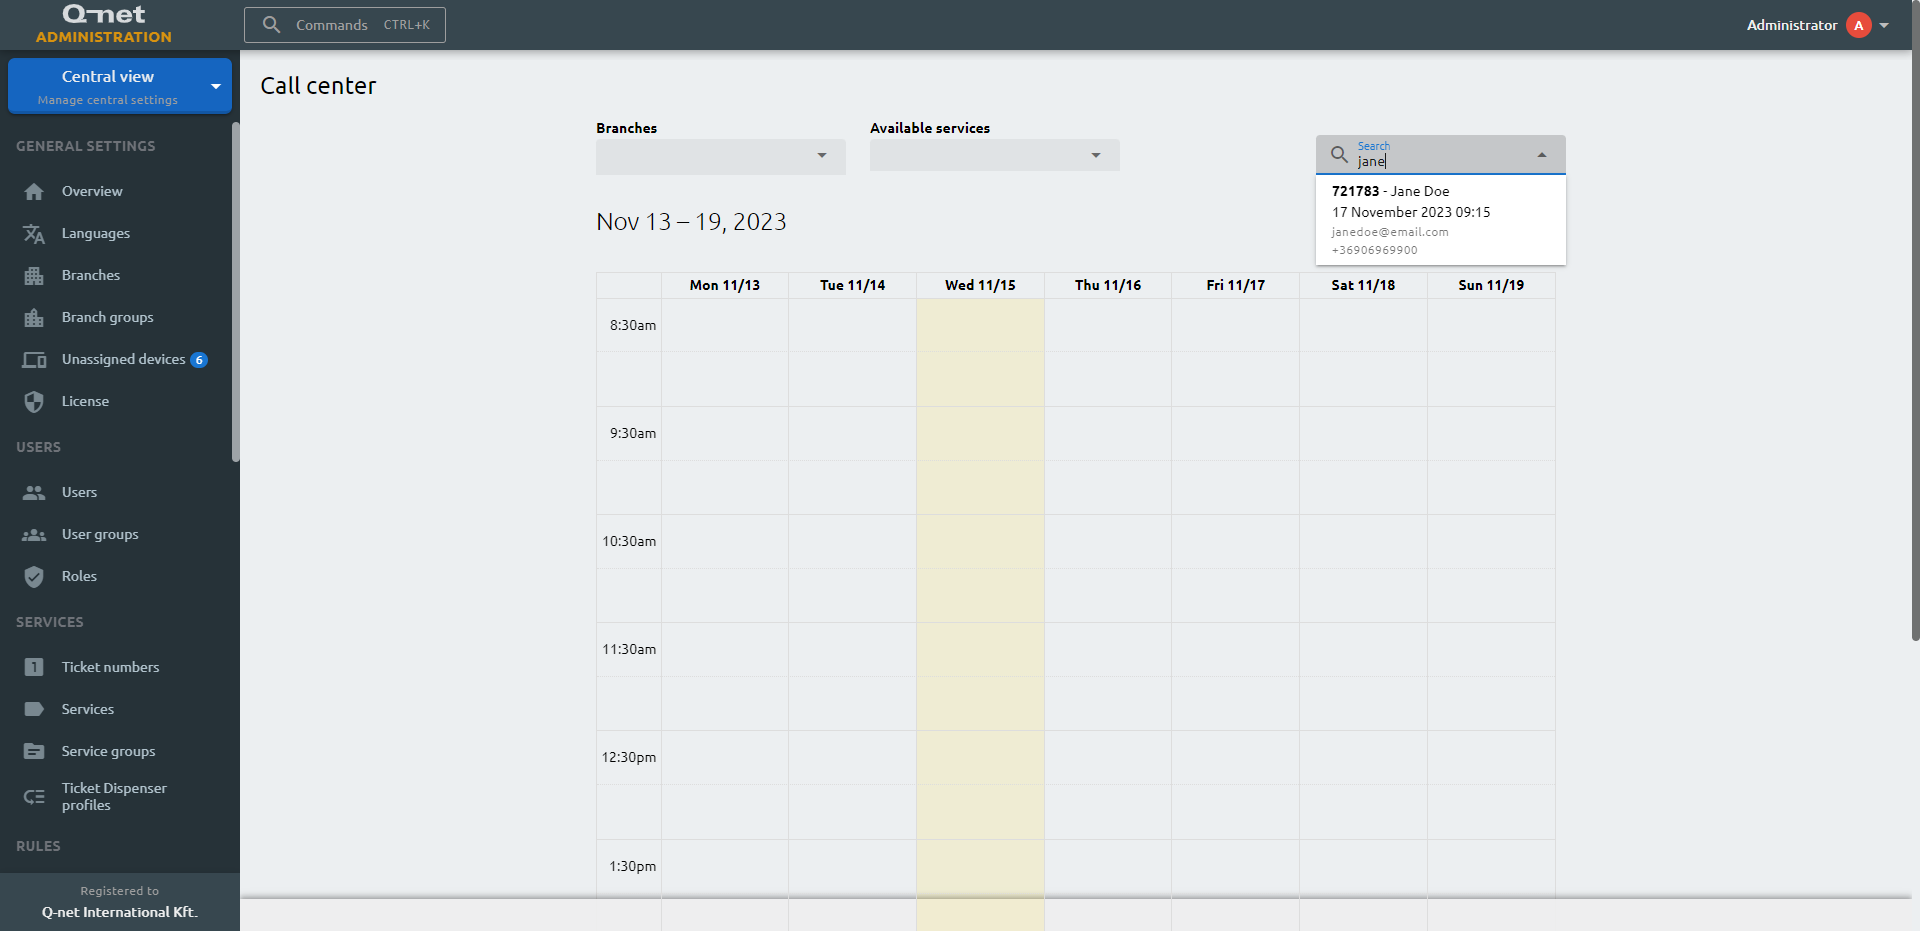
Use the search bar to find an existing appointment. Simply begin typing, and the system will automatically initiate a search after three characters are entered. The search encompasses customer information such as name, email address, booking code, and phone number. After clicking an appointment from the list, it will show you additional information.