Further Modules - Media Player (SH46)
Starting Media Manager
Media manager can be started with its dedicated button on the main page. The manager can be used right after entering the credentials with the correct level of access.
Profiles (Creating/modifying profiles)
The media manager uses profiles to achieve various visual results. The application comes with a few built in profiles that contain basic elements. We can customize the existing ones or can create new ones from scratch to be sure that the setup will cover all our needs. We can create profile by selecting the New profile. All modifications can be saved with the help of the appearing top middle Save & apply button.
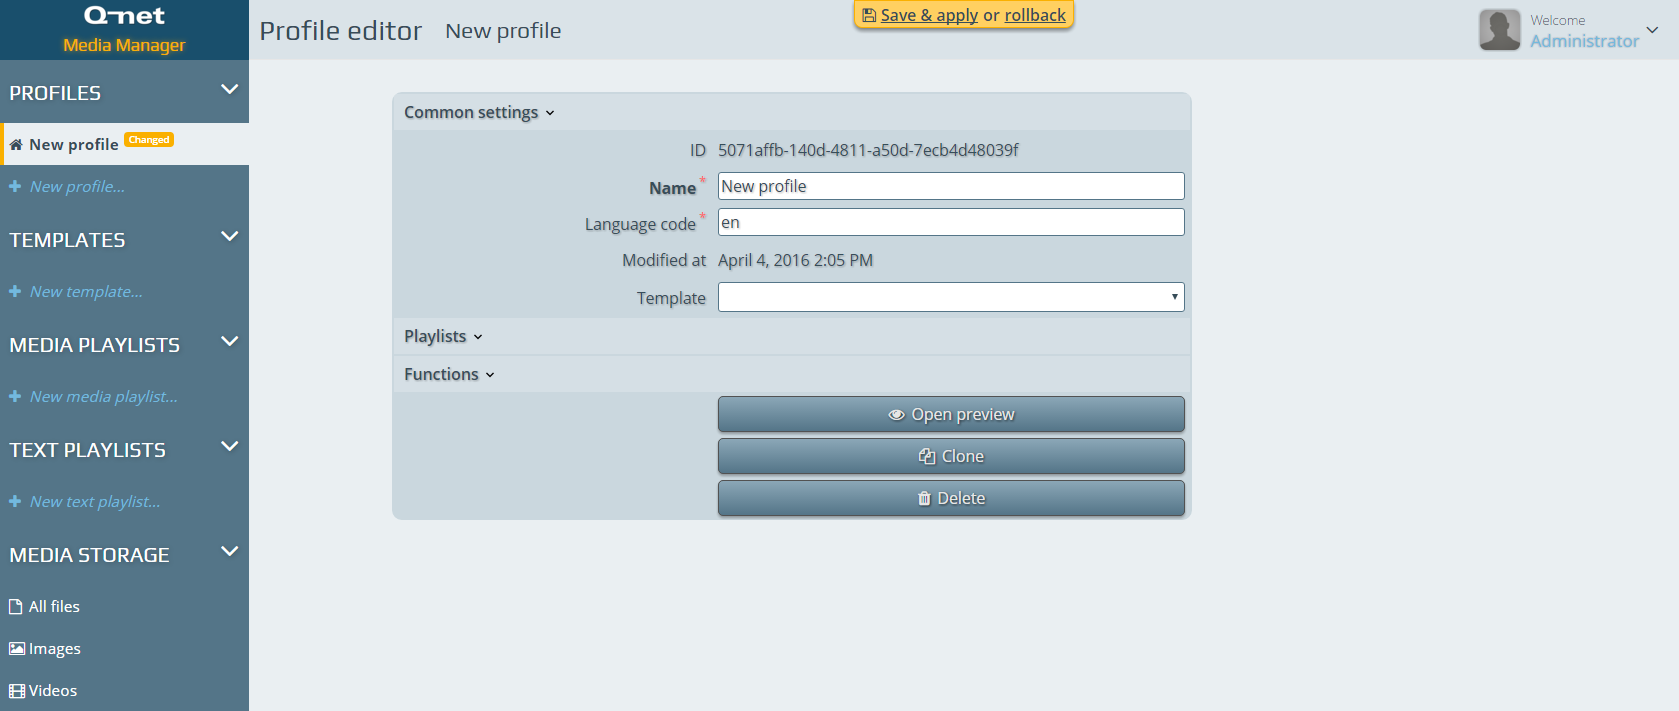
Once a profile has been made – creating Templates and Playlists becomes essential. Completely set up profiles can be exported as well – in case a unified style needs to be shown on all media players. Functions menu will have an option to export the selected Profile – selecting that option will ZIP the profile with all the templates and media files and place the file into the browsers default download location.
Templates
The different templates provide the required appearance of the player for the end user. In the template editor there are numerous elements and functions that can set up a unified or a totally independent and unique configuration.
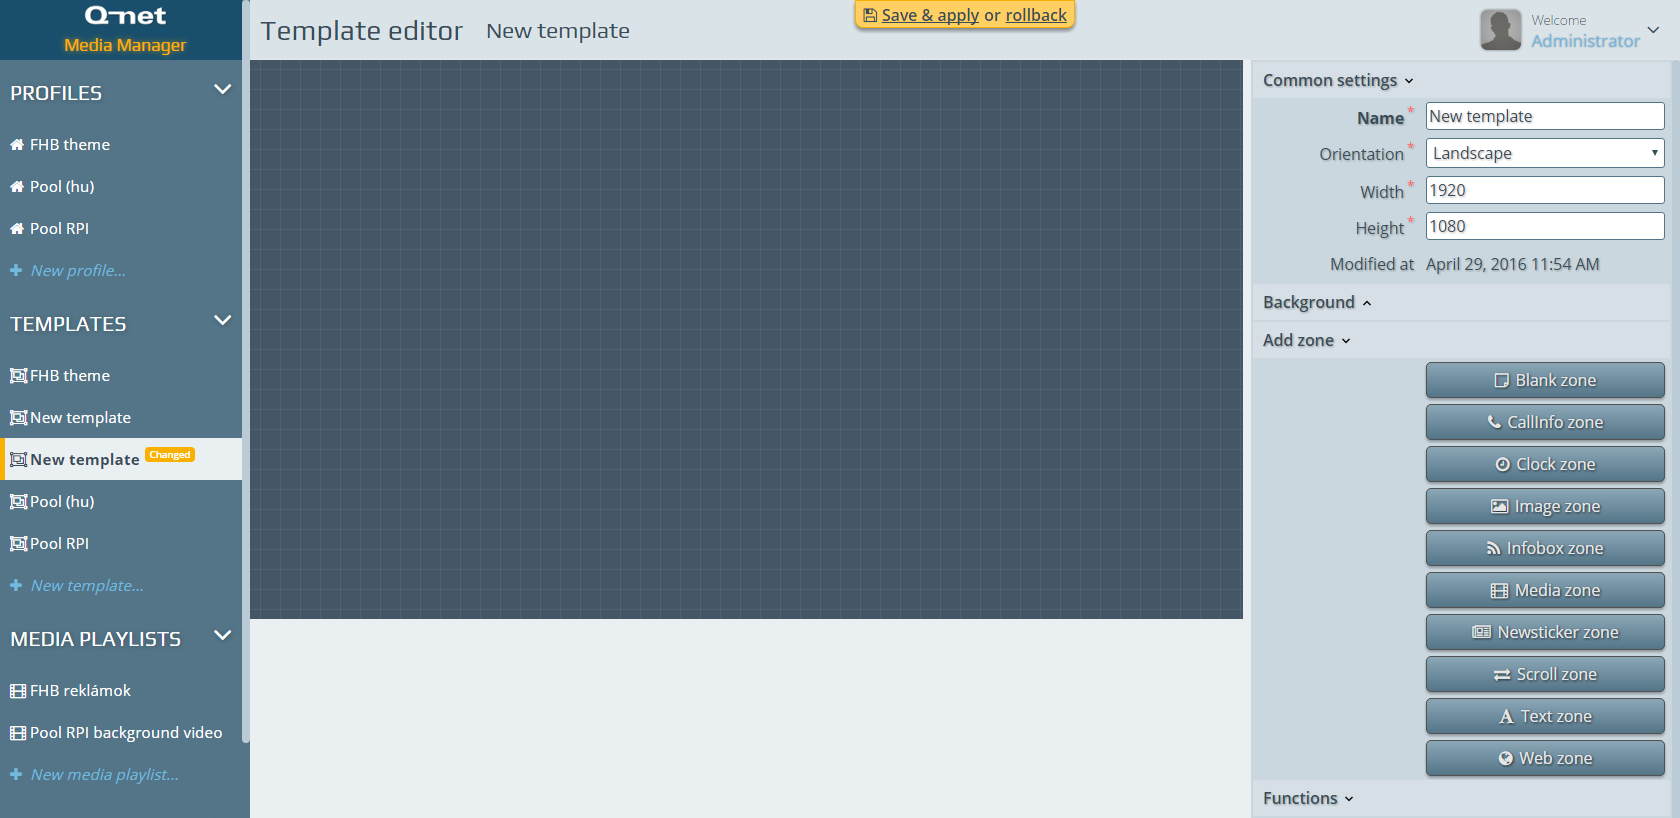
Templates can have such regions that are suitable and posed by the prevailing norm requirements. Besides the principle callinfo we can place have a digital clock (with date if needed ) and of course there is media zone as well. The infobox, the news ticker, the scroll zone and the web zone provides possibility to end up in a never ending information flow on the player surface. With the text zones we can clarify some areas on the surface by tagging them – like to clarify the number columns in the callinfo.
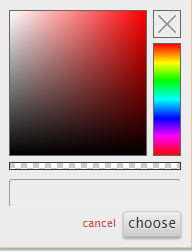
Moreover the resolution of the template and the layout can be set – as well as the background picture or the background color. The background picture can be sized to specify the needs – it can be cover, contain, stretch or not being modified with none.
Once a zone has been added to the template its size can be modified with the help of the sizing points.
The size of the active zone will become visible on the bottom of the zone if any sizing point is held. The size of the zone is given in percentage compared to the whole area. If the whole area is covered by a region you can get out of it by hitting ESC.
Each and every zone has its own setting options – apart from the common settings. The appearance menu makes it easier to size our zone and set the visibility of it. You can set the border radius here as well. Every zone can have its own background color or picture with the set of transparency.
Setting up zones
Every zone have common settings – with which we are able to size and place the zones precisely on the available area. We can also modify the background colors or can upload background images. The settings of each and every region can result in a really unique visual setup or can handle a unified look if needed.
Blank zone
This region doesn’t contain any information. We can use this area to mark or to distinguish different areas on the same screen. Other informational zones placed onto blank regions can end up in a frame look. The zones background color can be set in every way to unify the area.
Callinfo zone
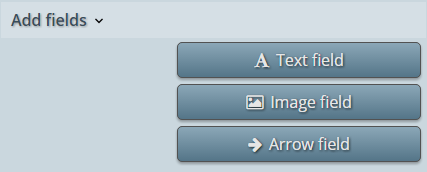 This is the main element of the media player. This area will visualize the recent and the past calling information from the queue management system. The zone contains two areas. The callinfo area and the callinfo row together is the calling region. The callinfo row will show the actual and latest calling activities. If we click on this area there will be three additional fields we might add. The Text field can carry identification text over the info. I.e.: ticket number or counter.
In this zones settings we can find system default values for different texts like ticket number or counter number (#{callinfo.ticket.number}, #{callinfo.counter.number}, #{callinfo.counter.room}, #{callinfo.task.name}), or by deleting the system values we can have fixed texts as well. Font types and sizes can be modified freely. The Image field allows us to insert a small picture or logo. The Arrow field can simplify the called ticket number to be directed to the specified counter.
Callinfo zone is animated. The fresh information is “rolling” in. The view mode can be set to normal or to grid view. The latter option let us have the opportunity to categorize the calls by the service names or number intervals – even counter names or numbers in case this is the required style.
The refreshing of the callinfo row can happen vertical or horizontal ways. By setting up the lines of the callinfo we can specify how many events we need to visualize on the area. A set of configuration options increases the opportunity to set the first row index. Setting the first row index to 2 means that every 2nd event is going to be shown in the first row. Having this option means you will need an additional row that shows the recent info as an actual state.

Each and every zone has a Functions menu where you can Clone or Delete the selected area. In case of Profile Functions menu – you have a Preview option as well – where you can preview the profile with all the modifications made on it.
Clock zone
A media player main element could be a digital clock. Besides the common settings we can set the format of the date and time. We can decide and set to hide the date or time as well in case you want to have the date and the time in different places on the screen. Date and time are coded information. The below table shows the setup of the details with their codes:
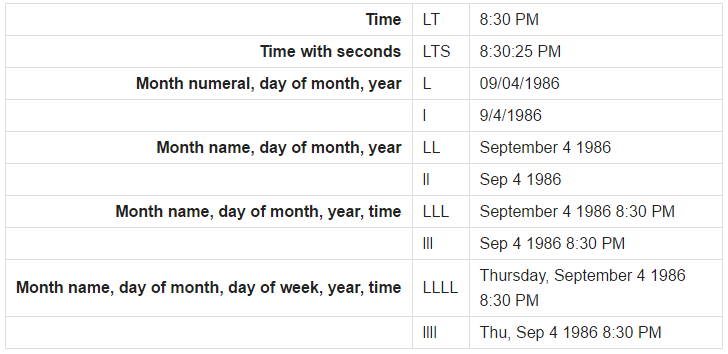
The format of the date and time will be shown according to the language code set on the Profile page. On the table the format of the “EN” language code is shown.
Image zone
Image region can display static images on the area. Of course we can set transparency and size as well.
Infobox zone
Infobox zone can show RSS feeds. Media player can show RSS content from the internet/intranet. To set up this zone you will need to have an RSS URL. The Count of items can be set freely depending on the RSS channel. Refresh interval setup handles the channels information refreshing automated – so the RSS channel will always have the most up-to-date information. Duration type is set to be calculated by the length of text. In case a longer text is shown – the text will remain longer on the area. Min. duration (sec) can also be set to display the messages for a prefixed interval. .
Infobox is able to handle pictures sent by the RSS channels as well. If we want to enable this option – to have pictures as well with the newsfeed - we need to check the Show images option at the image settings. The size of the images can be handled by setting the Width if images (%). Of course all the fonts type and colour and size is free to be modified.
Media zone
Media zone can show videos and images. Video formats should be mp4 or webm. Picture file formats should be .png .jpg .jpeg or gif. The region can be muted so the videos sound would not conflict with the calling tune. We can set transparency for the area so the whole video will be accordingly transparent. This zone is directed by Playlist. For more about the playlists – point 4.
Newsticker zone
The information duration provided by this area can be set. Depending on the values set in the playlist – the region can show for example stock exchange rates, currency exchange rates or simple small clear information.
Scroll zone
Typical media player content – usually on the bottom of the screen. With this region we will be able to display static texts or RSS feeds. The speed and the direction of the shown information can be freely modified. The font type and the look of the text can be edited in a different way at this part – it can be done in the playlist itself – see point 4.
Text zone
If a region or an area needs clear identification or needs tag – text zone is used. To do this you would need to set up a text zone or two. The zones text field is a mandatory asset to be filled – but you can have a text swapped if you like. In case you want to have swapped text you need to fill the Swapped text field as well. Font settings can be done in the zone.
Web Zone
The area is able to show a predefined webpage. The transparency of this region cannot be set – so underlying content can’t be placed on top. The area is only showing the fixed URL and refreshes it as per the set time interval based upon the Refresh interval value. Content scaling can be set to be able to show the full content of the page (1=100% while 0,5=50%).
Media Playlists
To create a new playlist you would need to click on New media playlist button. You can name the playlist under the Common settings. To add content to the playlist you would need to upload the files into the Media Storage (expect online content). More about Media Storage in point 6.
Content available in media storage can be added to the playlist with the Add media from storage button.
The available media content will become visible so you can find the media by the name of it on the right hand side. Videos and images will be shown on the available media content.
A New video from URL can be used in case an online video is available on the intranet/internet. The video sharing portals contents are not able to be shown in this media section. For showing such content we recommend to embed into web zone. New image from URL setup allows online pictures to be shown in the list.
The content added to the playlist can be organized into any kind of order by holding the content on the right hand side of it and moving it up or down in the list (drag&drop). The playlist content playing order starts from the top of the list.
Text Playlists
By creating a New text playlist we can give numerous information channels. The information can be Static text, System text, RSS feed, REST feed or Stock feed. With the configuration of the appropriate element you will be able to create an endless information flow on the designated areas of the player – with the Scroll zone or the news ticker zone.
The configured elements can also be personally ordered by drag&drop. The playlist can be named under the common settings menu point.
Media Storage
The media storage is responsible for all the media content available for visualization. Both videos and images are based here. We can upload all the content here by drag&drop which we want to use in the future on the image zone or the media zone. The orderliness is handled by different type of media content libraries. There is an option to view only the pictures as well as to do the same with only video files. There is an option to view all unsorted types of media content also in the All files library. You can upload the content ordery to each responsible library but in case the upload is started in the All files library – the system is going to categorize the file and move it to the responsible library automatically.
The uploaded content can be previewed in the ordered library – or in the All files – with the help of the Functions menu – selecting Preview.
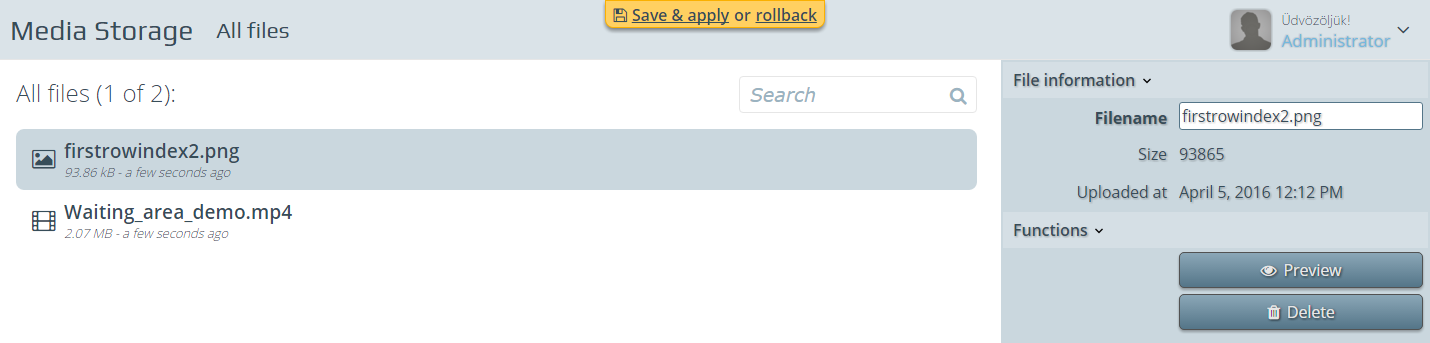
Under the same function menu there is a Delete option for removing the unwanted elements.
FAQ
Why is media not shown on SH46 Media Player?
First of all, you have to import the media(.mp4) file into the MEDIA STORAGE.
Secondly, create a MEDIA PLAYLIST and Add media from storage…
At PROFILES tab chose your previously created playlist here: Playlist for zone ‘Media zone’
Now if you have a Media Zone in your TEMPLATE connected to the right PROFILE where you made the setup, it will show the imported video.
For instant syncronization you have to set the Download scheduler to Permanent synchronization.
To do that navigate to DEVICES / Device controllers / Chose your DC then Special configuration