Maintenance - Backup Restore
Database backup
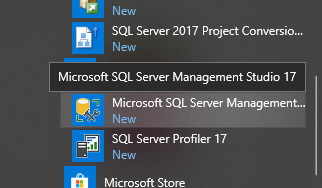
Start Microsoft SQL Server Management Studio in Windows start menu:
Choose SQL Server Authentication-t instead of Windows Authentication:
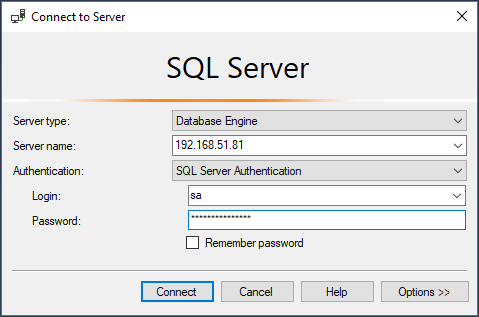
Login : sa
Password: TRUSTED_SA_PASS -this is the default password we use installing our softwares, if you changed this at installation you have to use that password (sensitive for capital letters). If you don’t remember for the password you can login with windows authentication.
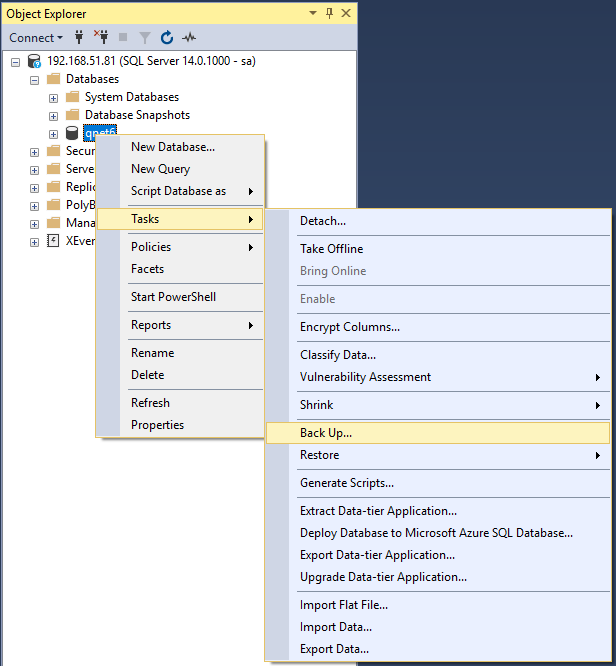
After login -> Databases -> QNET_SERVER ->right click on Tasks ->Back Up…
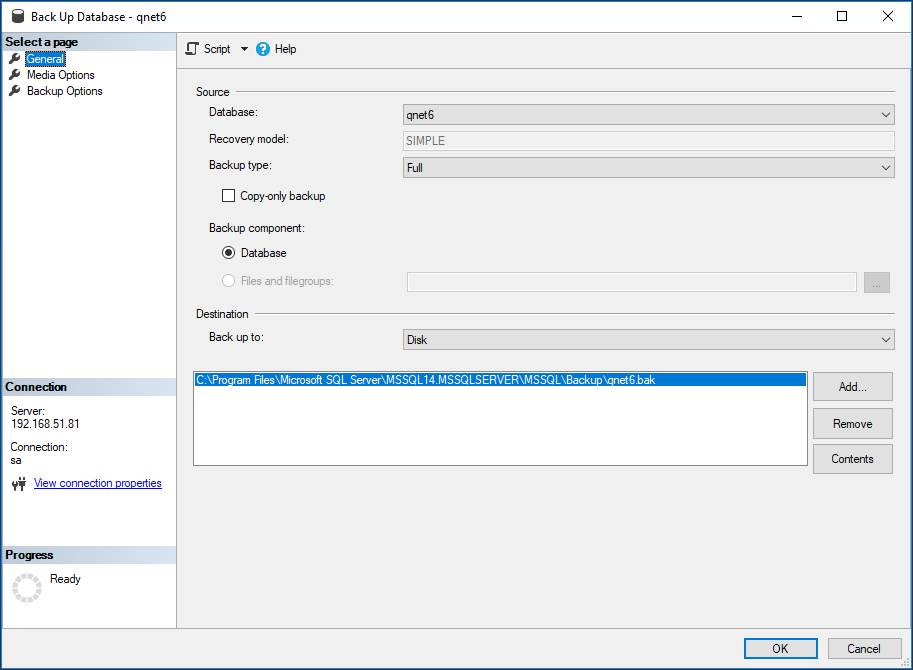
You have to make the backup with local administrator rights or you cannot save the file to certain folders.
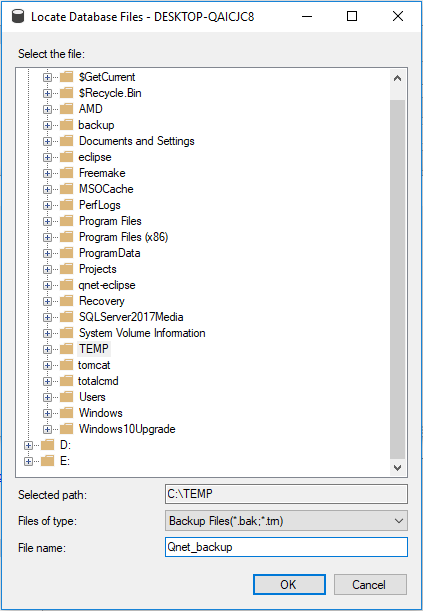
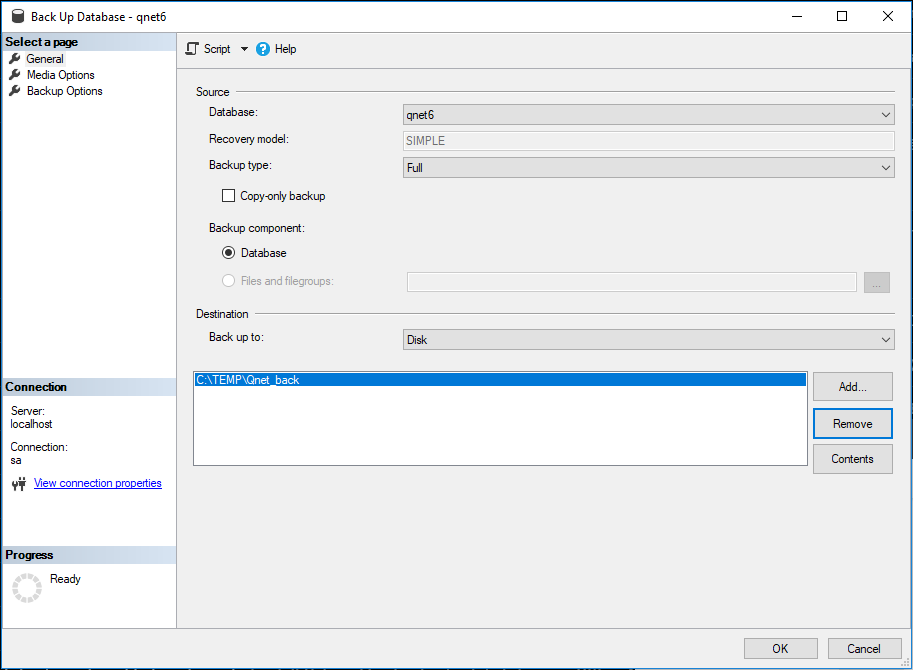
If you don’t have write permission to program files folder, you have to click on „Remove” button and „Add” -> choose a folder, where you have write permission (for example „C:\Temp”). It is important, that you have to give the name of the backup file, otherwise the „OK” button won’t be active:
You have to see this, after pushing „OK” button:
Choose „Media Options” after this and click on „Overwrite all existing backup sets”.
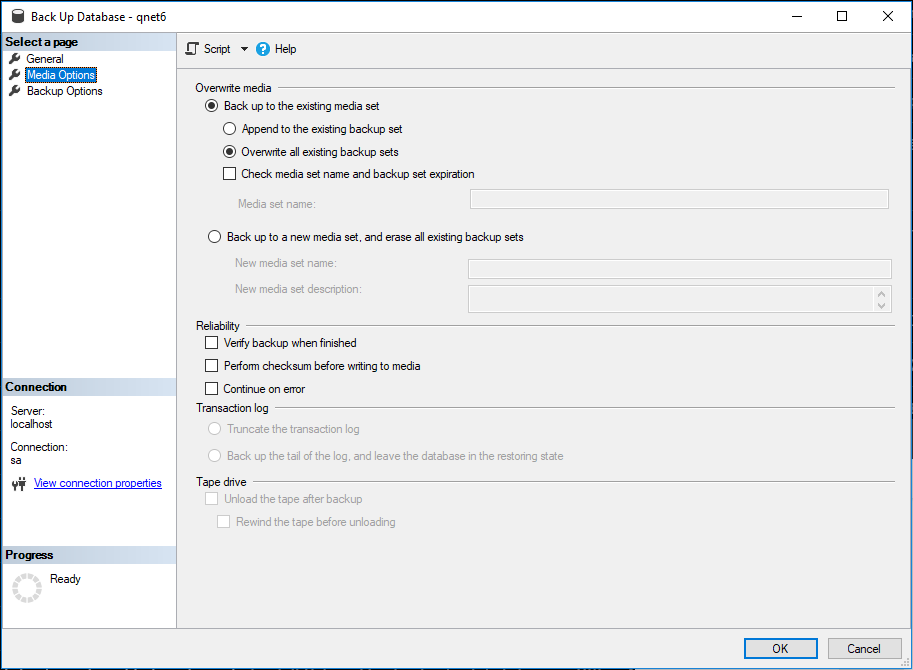
You can click „OK” now and the database backup will be done.

Database restore
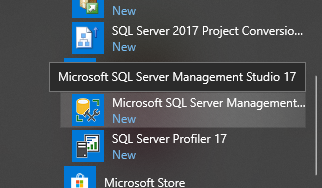
Start Microsoft SQL Server Management Studio in Windows start menu:
Choose SQL Server Authentication-t instead of Windows Authentication:
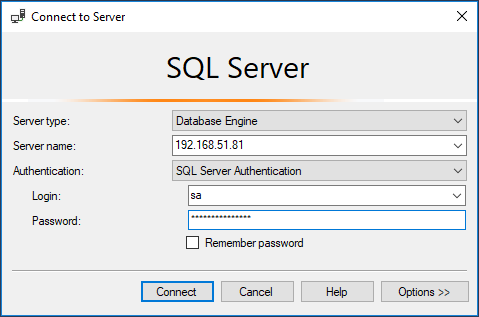
Login : sa
Password: TRUSTED_SA_PASS -this is the default password we use installing our softwares, if you changed this at installation you have to use that password (sensitive for capital letters). If you don’t remember for the password you can login with windows authentication.
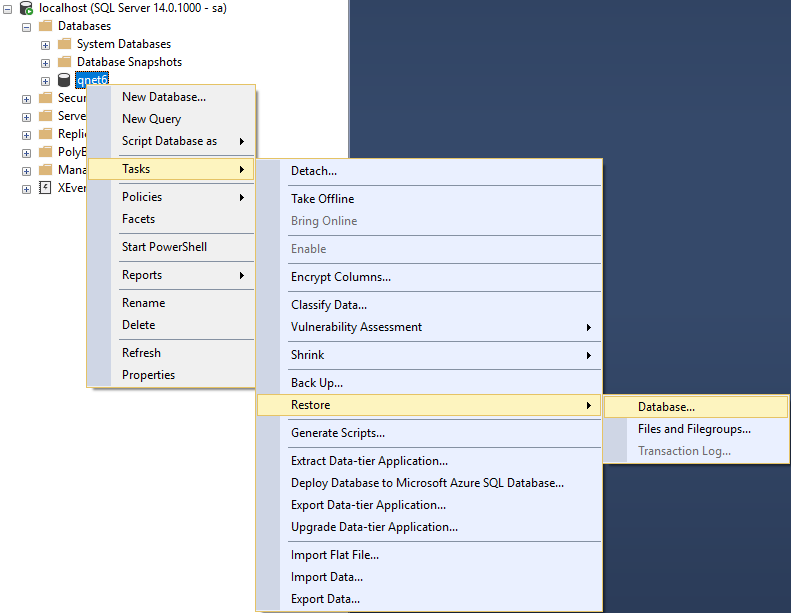
After login -> Databases -> QNET_SERVER ->right click on Tasks ->Restore -> Database
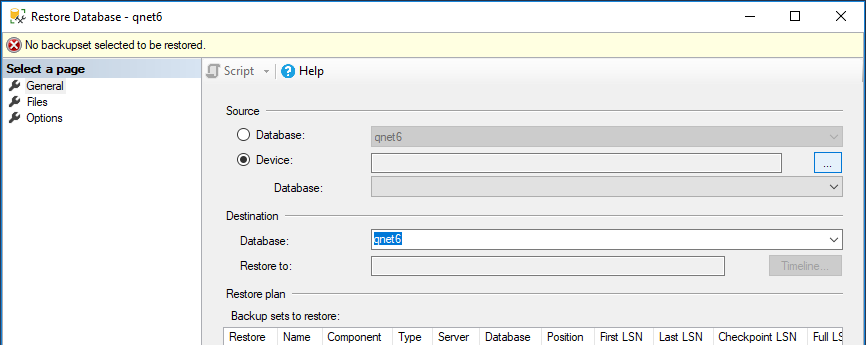
Select Device, instead of Database and click on the button with the … text
Click on Add
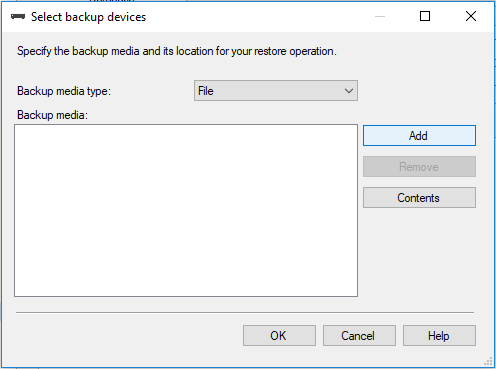
Browse your previously generated database backup and click OK
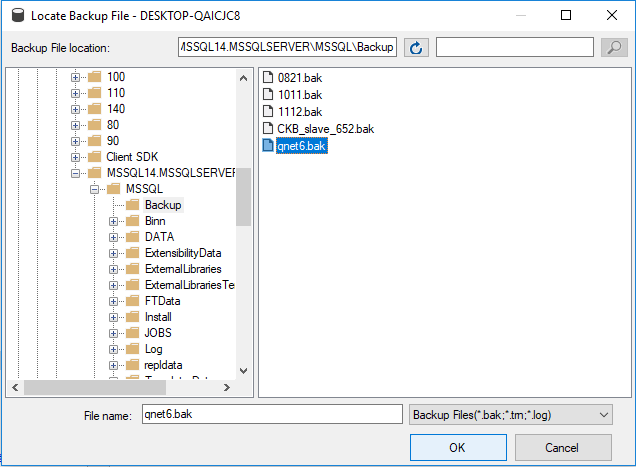
You will see the database backup on the list:

Choose „Options” after this and select the „Overwrite the existing database” and the “Close existing connection to destionation database” options
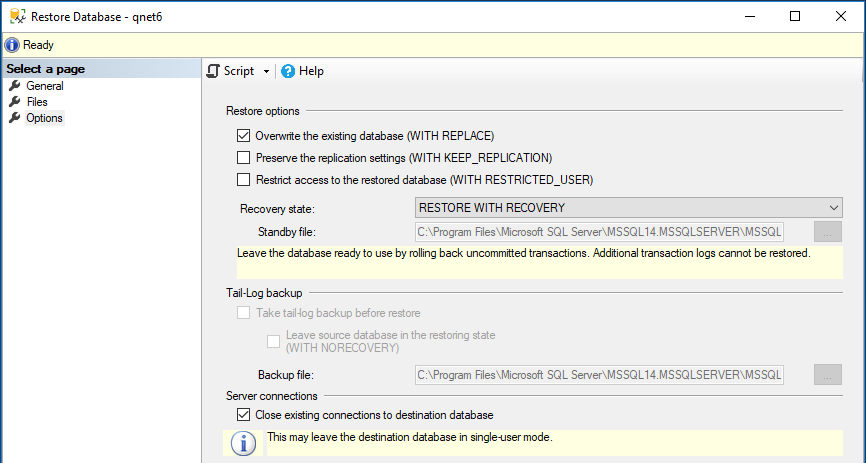
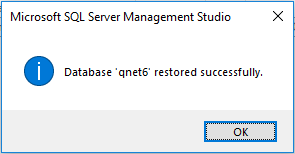
Click OK, on the bottom of the page and the restore will begin. You should see this message after the successful database restore:
 User Manuals